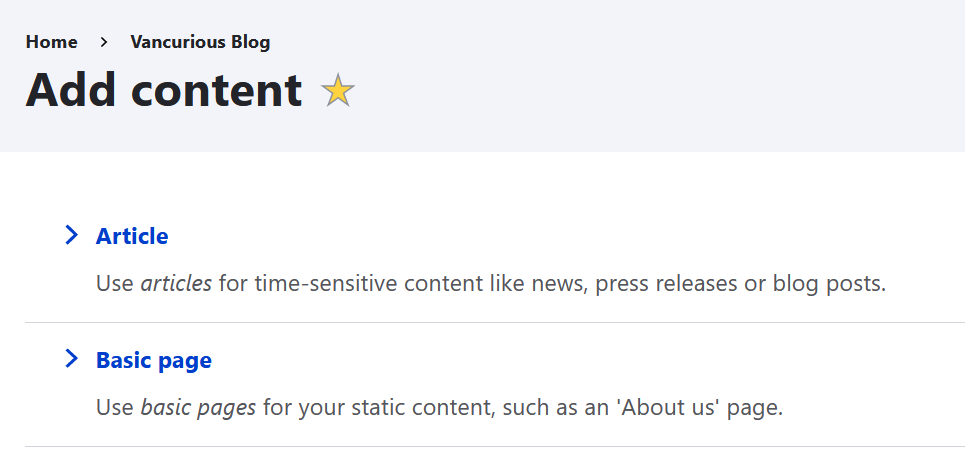
Out of the box, Drupal will have two types of content you can easily add to your site:
- Articles, which are the most suitable for your blog posts
Basic Page, which you can use for pages that you create one time and do not have to change much. Note that 'static' in this case does not mean you cannot change it
As the owner of a site, you also have the ability to define what fields you want for any content type including these 'out-of-the-box' types. For this, use the 'structure' menu.
If you are just looking to add a new blog post, you only need to worry about the 'content' menu
To create a new post, click 'Add Content'. Choose the type of content you want to create: 'article' or 'basic page' or something else. In this case, click 'article'.
Edit an article
For your typical blog post, select 'article', and you will see a screen similar this:

Enter information for the title, add an image, and add some text into the 'body'.
Click the 'save' button - you can decide if you want the article to be published right away or later by selecting/de-selecting the check box next to 'published' just above the save button.
After saving it, you'll see that your new article has been added to the list of content items. You can use the 'edit' option on the right to continue to update the article.

When you click 'edit', you will see the same screen as when you first created the article, now with the text you added:
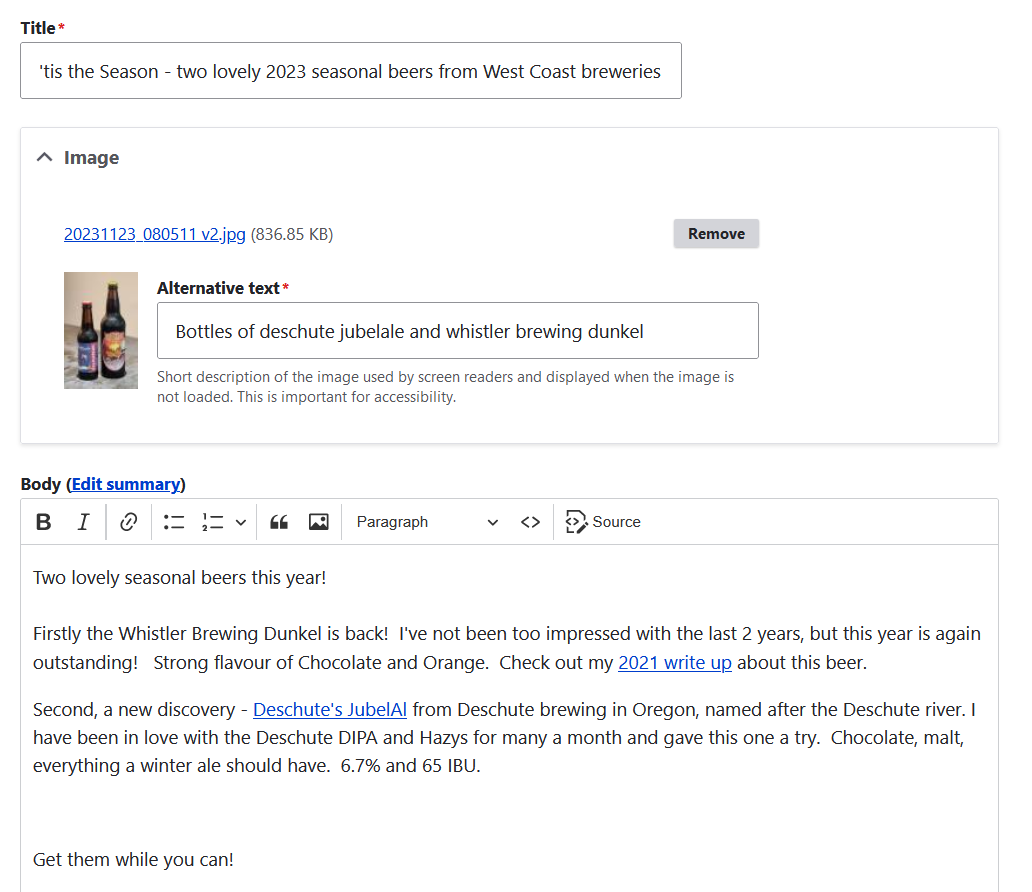
The article content type has been set up with four fields into which you can enter information and that you will see when you add or edit an article:
- Title
- Image
- Body (text)
- Tags
- (ignore the text format for now)
The picture you add as 'image' is special, as it will be shown on summary screens.
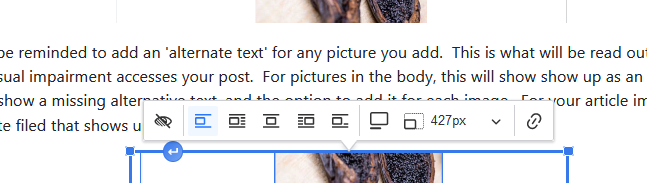
The body is all the information you want to have in your article. In addition to what you added into the 'image' field, you can also add pictures into the 'body' field, which will only be shown when the user clicks on a post. See below 'view a post'.
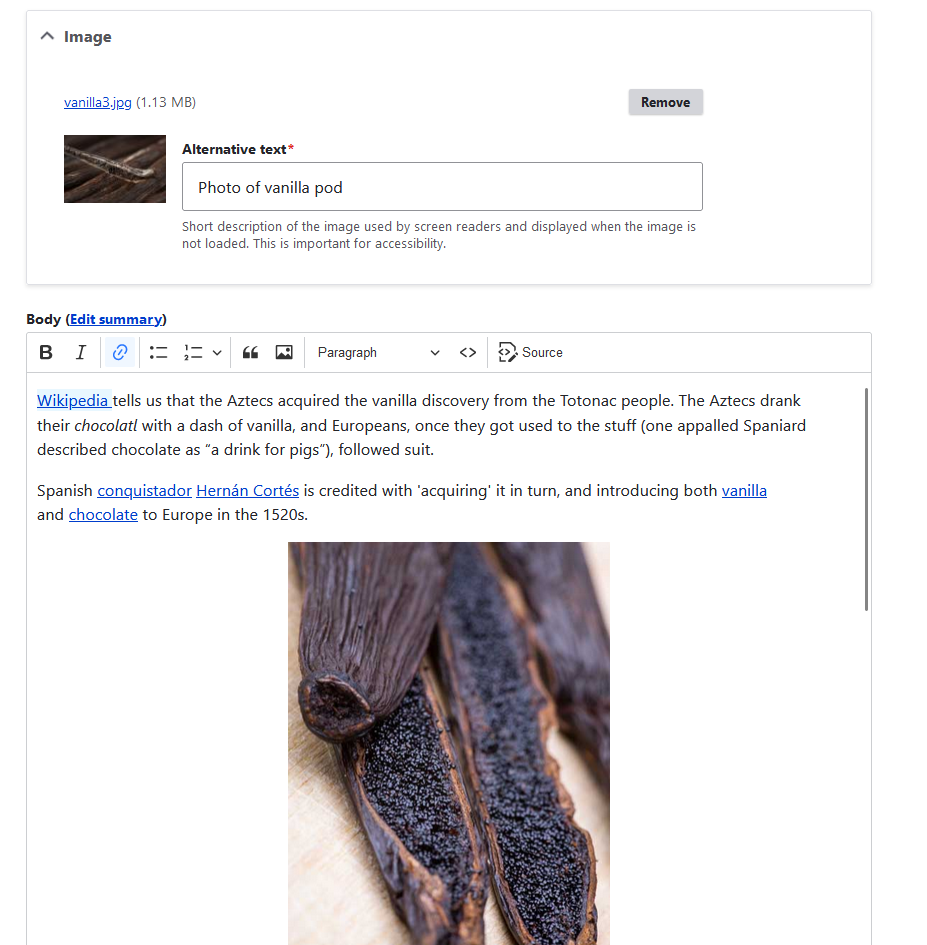
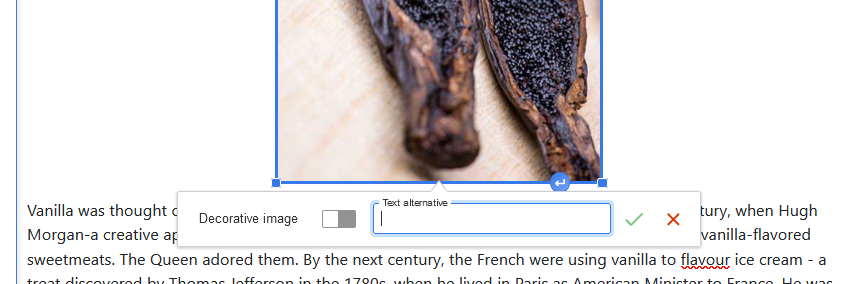
You will be reminded to add an 'alternate text' for any picture you add. This is what will be read out, if someone with a visual impairment accesses your post. For pictures in the body, this will show show up as an exclamation mark to show a missing alternative text, and the option to add it for each image. For your article image, you have a separate filed that shows up for "Alternate text" - both do the same thing.
Tip: if you mis-click while thinking you're updating the 'alternate text' field, you may be actually replacing the whole image with the text you are typing. 'Control-Z' is your friend to undo any errors.
When you click on the picture you added to the body, you will get a menu to show the alignment (left, middle, text around it, etc) and formatting for the picture (see below)
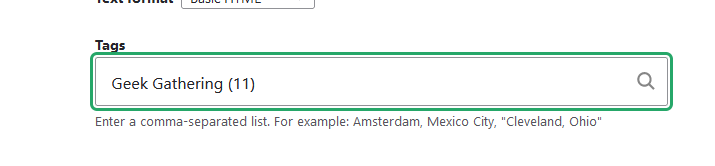
The tag you enter determines which summary screens your article will be shown on. You will be able to select from tags that have already been set up.
Note: when your mouse is inside the 'body' field, you will scroll everything (text, pictures) you added for the article. When your mouse moves outside of the 'body' field, you will be scrolling the edit page, and see the fields themselves move. Don't forget to move your mouse back into the 'body' field to show all the wonderful content you added.
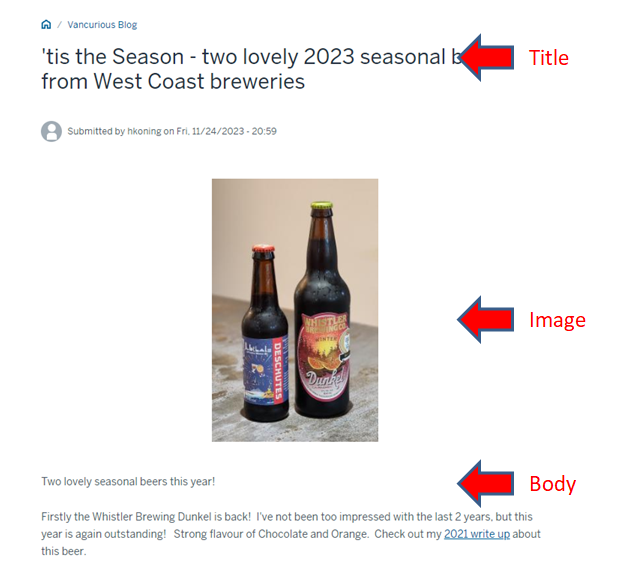
View a post
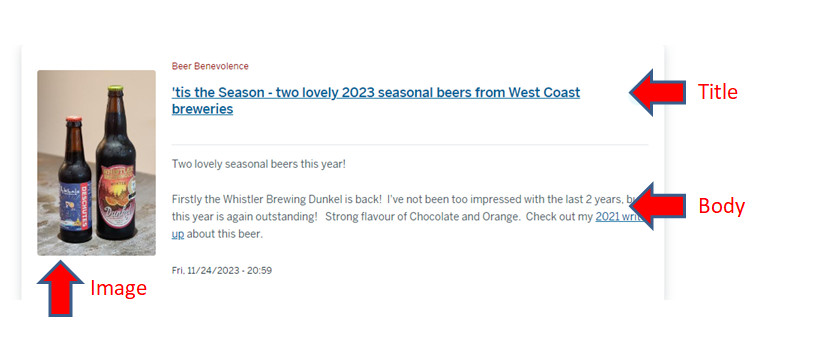
- The Title you created is what will be shown on summary lists
- The first few lines of the body text that you entered will be shown on the summary, UNLESS you add a summary by clicking 'edit summary'. If there is a summary, that will be shown instead of the first part of the body text.
- Summary pages will show the title, the image, and either the first few lines of the body or the summary text
If the user clicks on the post from the summary, they will see the full post: the title, the image and the body text.
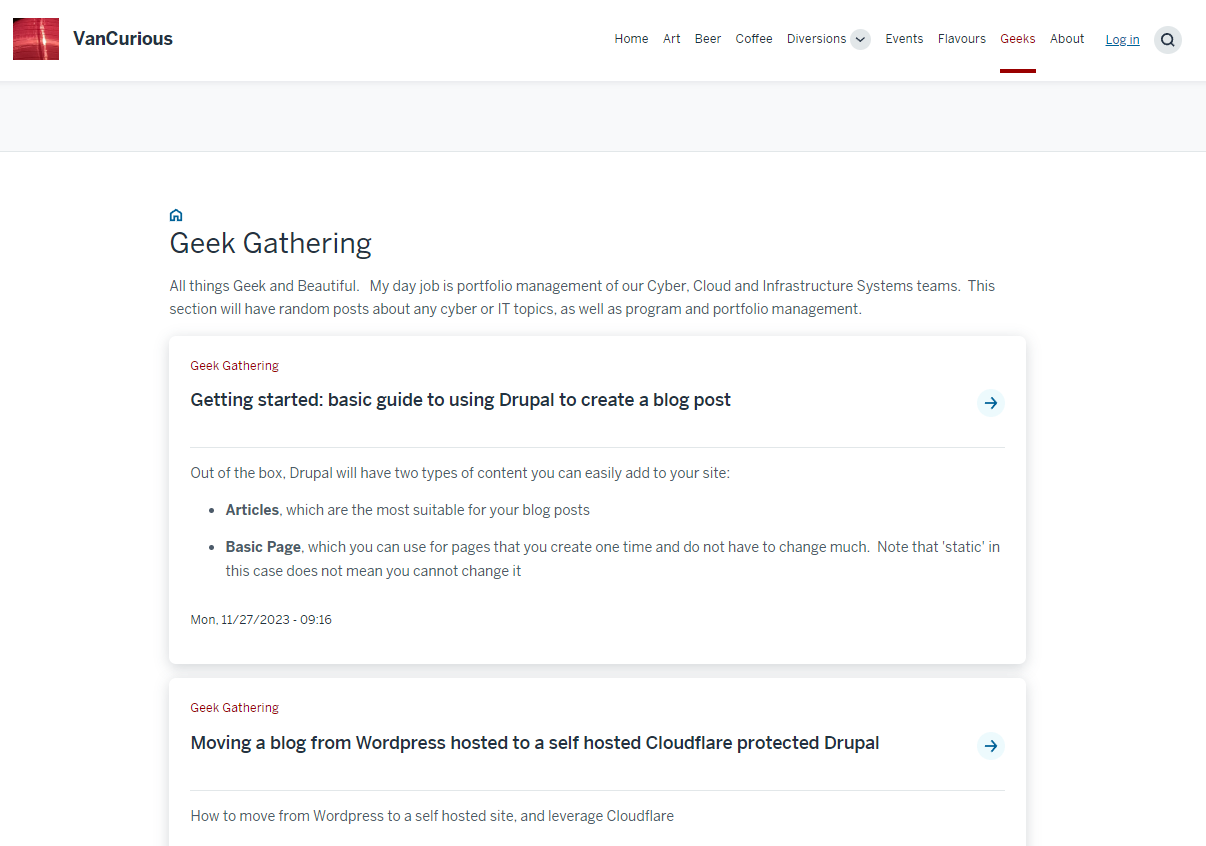
I have set up my menus to be able to show all articles that are tagged with a specific word, so that you can show all articles with that tag - see the 'Geeks' menu at the top?
If you click on that menu, you will get a summary page with all articles that have that tag including this one you are reading:
Tip: While you are creating your content, it can be very helpful to save frequently, and have another browser window or tab open to view what the article actually looks like.
Add new comment