I'd had enough of the Wordpress limitations and decided to take the plunge for the site you are on right now: vancurious.ca. I'm writing this hoping it will help you, as I wished someone had laid out for me what the steps were. I found the module documentation on the drupal.org site not very helpful and a lot of other information out of date.
Assuming you have already created or found a Drupal hosting site - here's how I moved my site. FYI we host our own Drupal 10 server on the LAMP stack, deployed via Virtualmin Pro (worth paying for in this case!!).
1 Adding the Drupal Migrate module
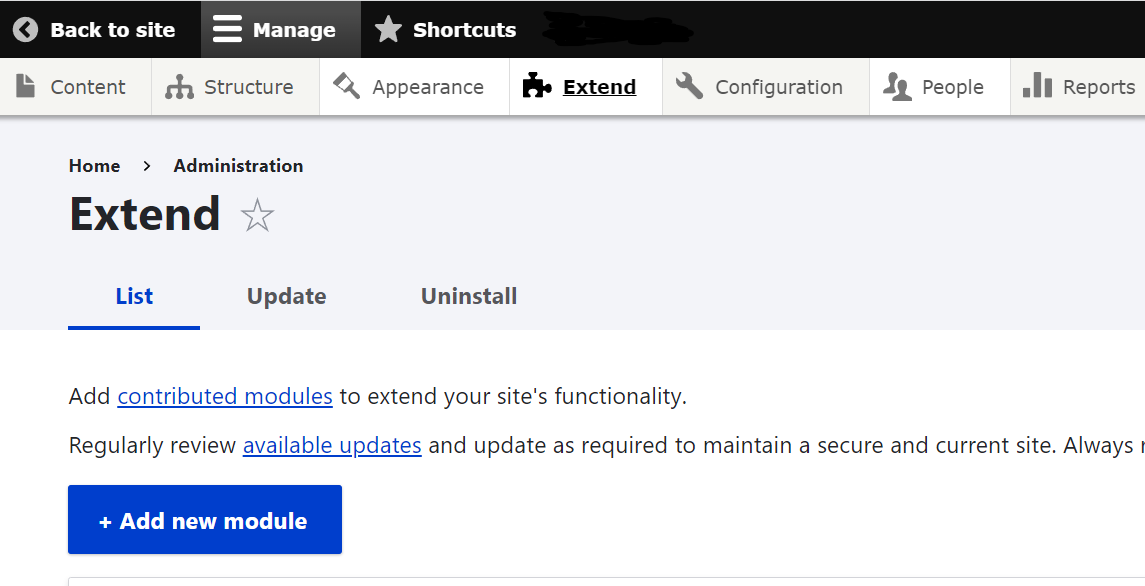
Log in to your Drupal site with your admin user. With the 'Extend' menu (see below) you can add new modules to your Drupal system, There is one specifically to migrate (import) Wordpress content.

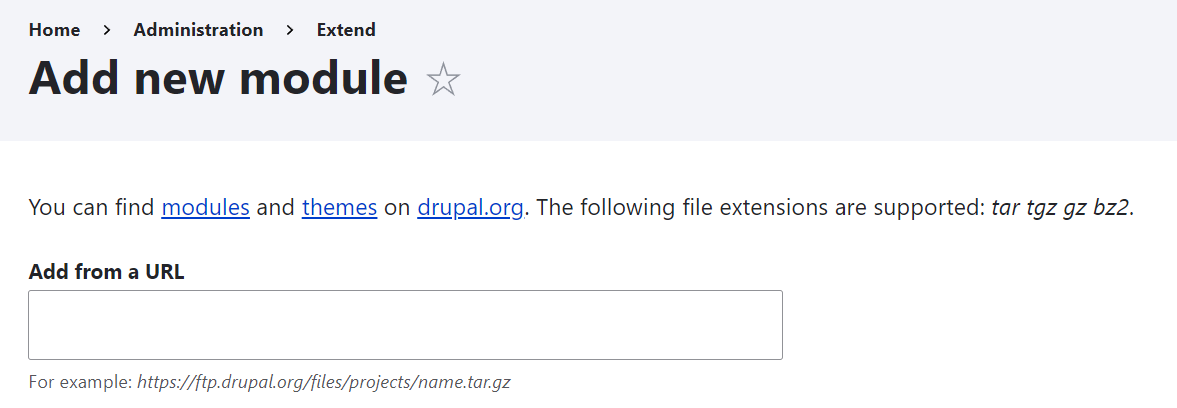
After selecting 'Extend' when logged in to your site, you will see the Extend screen with a big blue button to 'Add new module'. Yes, you should definitely click this button :)
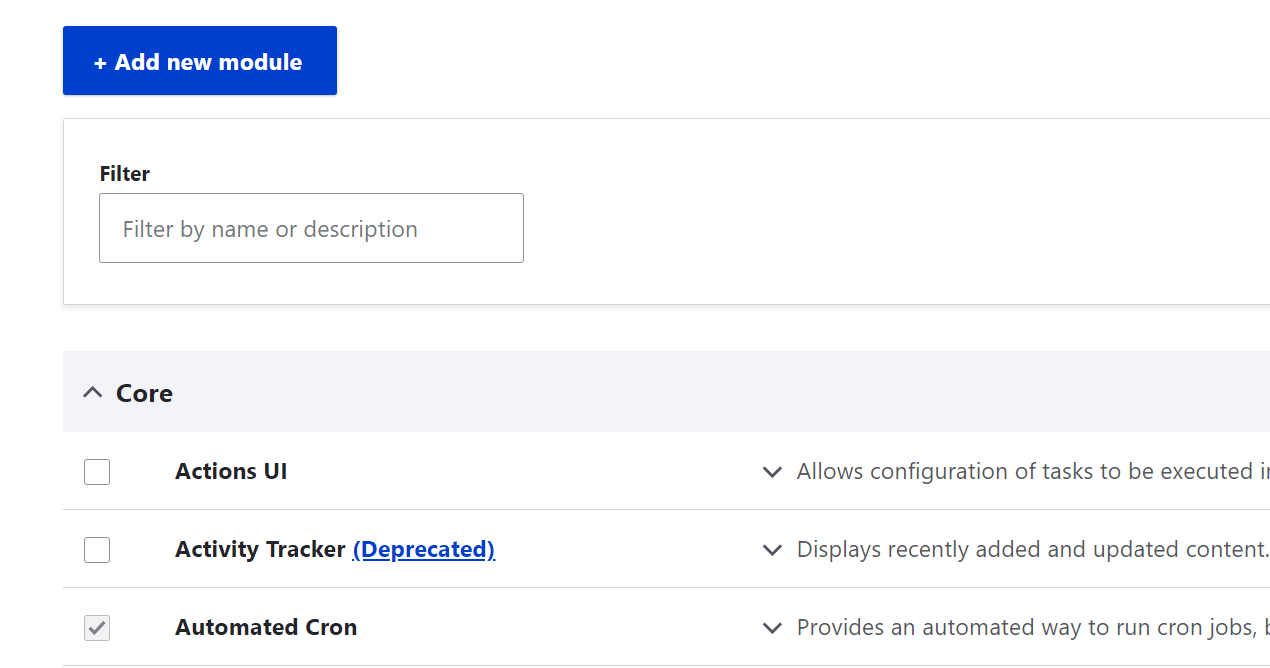
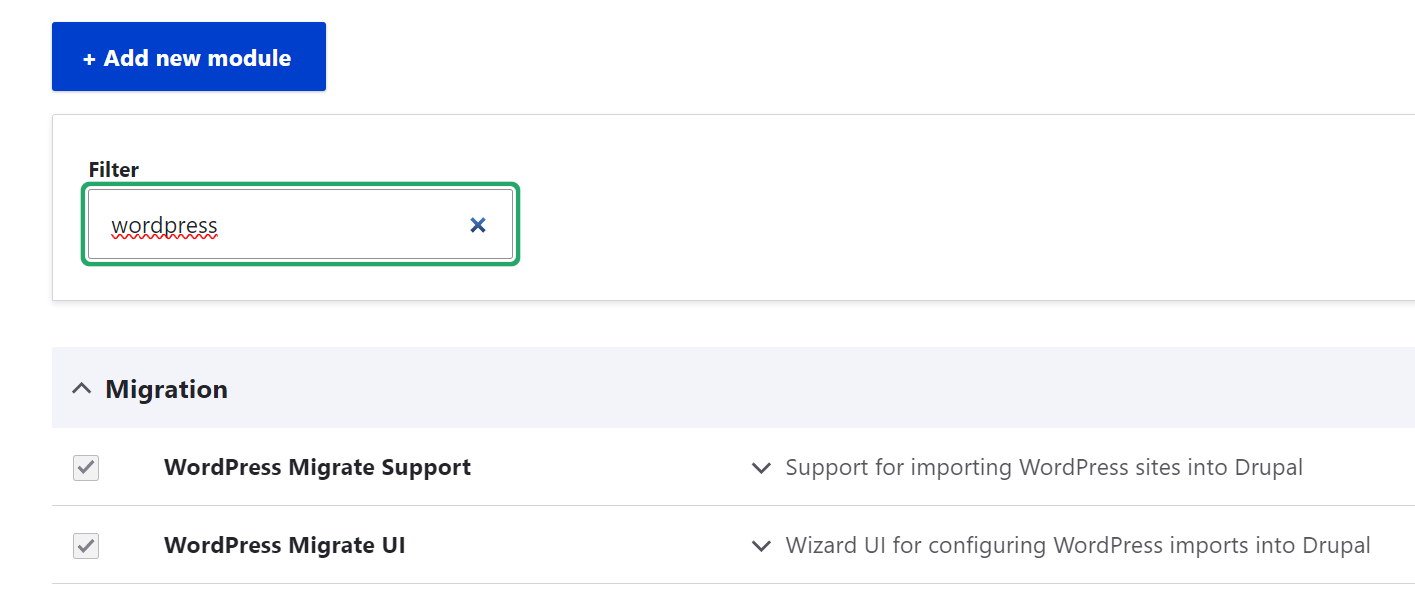
Already installed modules are listed on this page as well and you can use the filter to restrict the list.
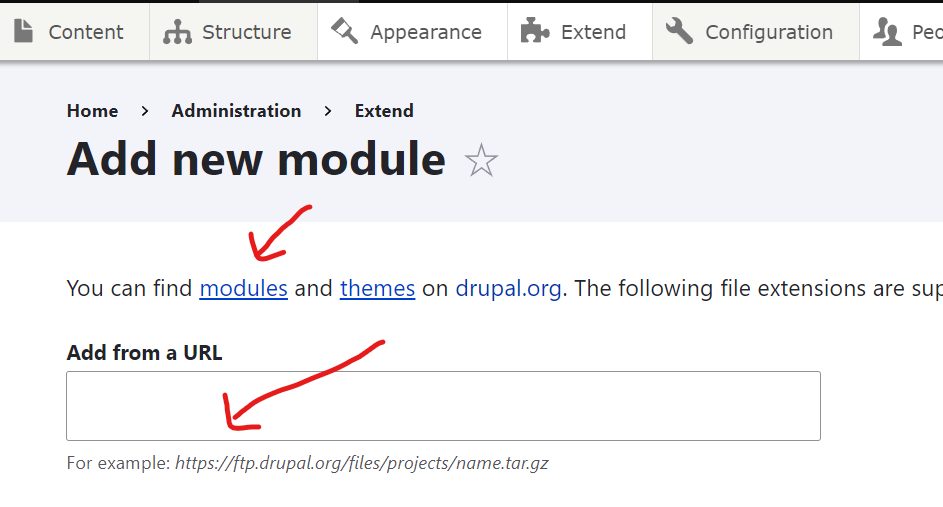
Click on the 'modules link to get the page on drupal.org and enter 'wordpress' in the Search modules field.
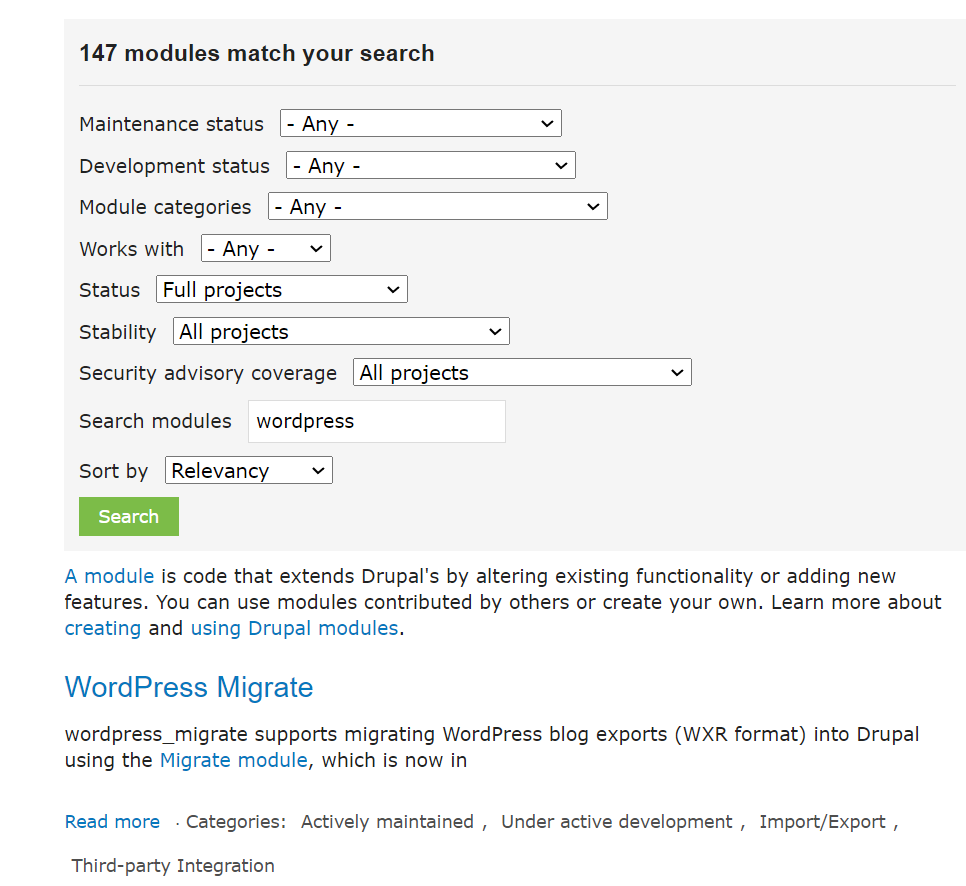
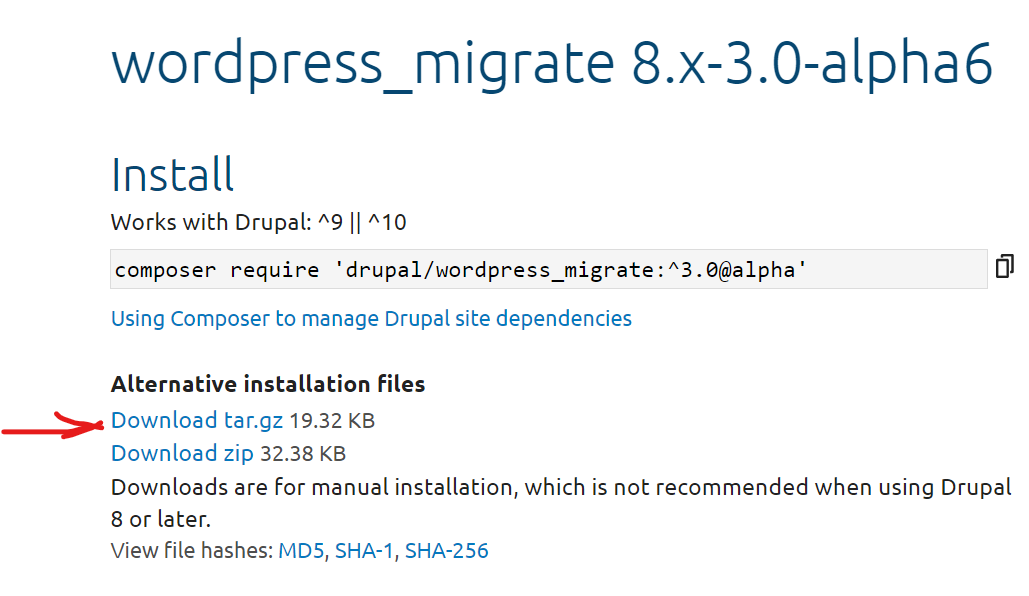
Click on the Wordpress migrate module - for me this is the first search result. Scroll down, and you find the various available releases. Check for the Drupal version it works with, and I also look for 'recommended', as well as the release date.
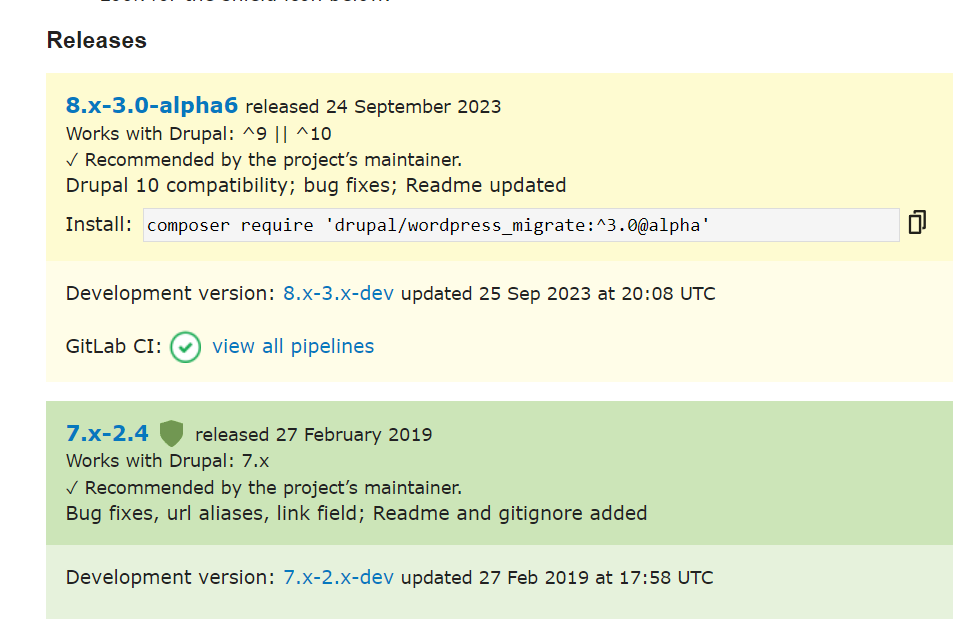
There are two ways to install the module:
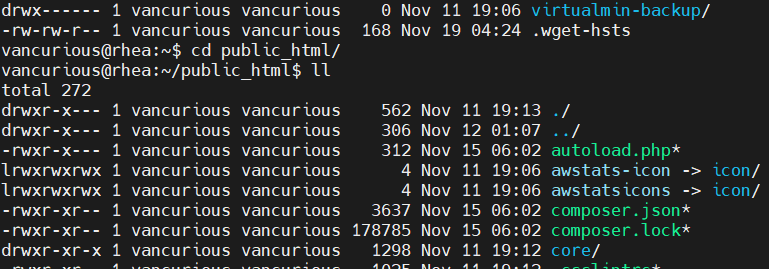
using a command line 'compose' statement - I hadn't figured out the second way yet, and used this approach. Using the compose statement requires an SSH connection to the Drupal server; I use MobaXTerm from my Windows desktop. You have to navigate the correct folder where you see the composer.json and copy & paste & run the command you see for the release you want.
- The easier way to add a module to Drupal is to click on the release you want and copy the link to the tar.gz file and paste this in the 'Add from URL' field. The file will be downloaded - don't forget to also enable the module (you will be asked for this). One download may contain several modules and you have to enable any that you want.
2 Export your wordpress site & import into Drupal
I tried at first with the export option from wordpress itself. It works, but the content is sorted into folders by year by month (will discuss later why that is a challenge). The newly added Drupal module can do an import from this file.
I found that using HTTrack to create a backup nicely puts all the images into one folder. I would recommend you also create this backup, just in case, and because it is much easier to update your images.
3 Add Admin Toolbar
Use your newfound skill in adding new modules to Drupal to add the 'Admin Toolbar' module - super handy - it gives a drown down menu so you don't have to click through.


4 Cleanup
Once you have imported your Wordpress export, you will have a lot of your source materials available. You will have all your posts (I would recommend import into object type 'article'). You will have your categories.
To have a functioning site, you still will need to create your menus - I used the tags to create pages with all articles specific to that tag, and linked to those pages from the menu - and you have to cleanup your images.
4.1 Using the tags to create a page with related articles, and accessing that from the menu
If you want pages that show all related articles, plus a menu item to go to that page, here's what you do.
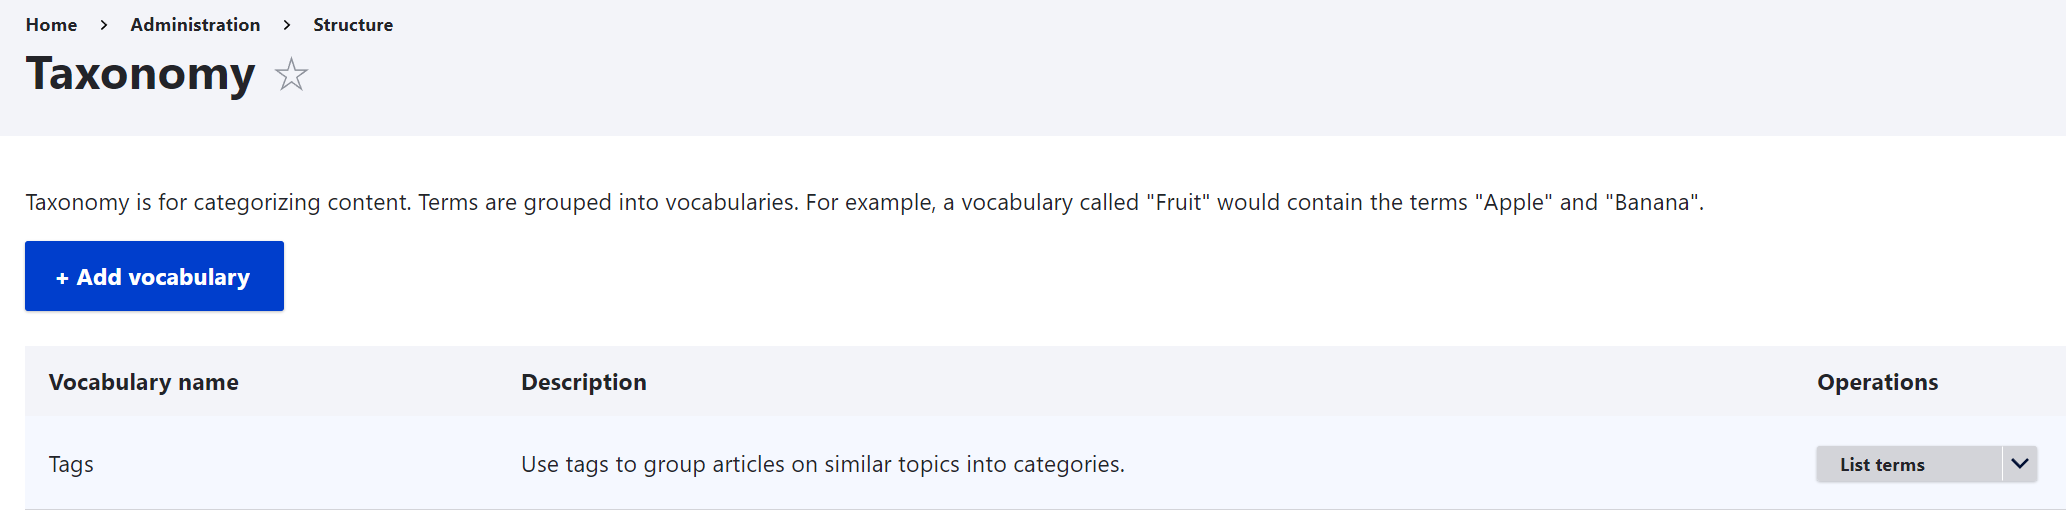
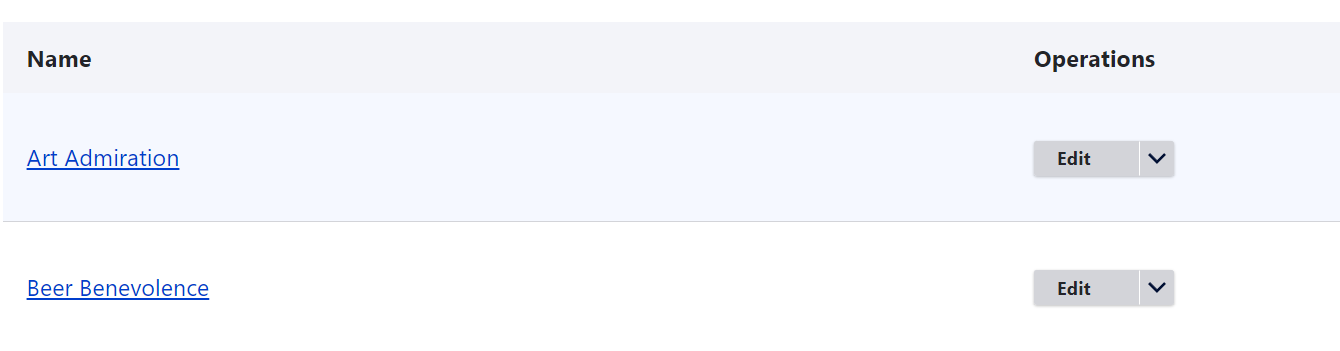
Go into your Drupal structure-taxonomy, click on 'list items' - as far as I remember, all your wordpress tags should be there. Add a nice URL alias for each.

Now navigate to admin-structure-menus, then find the 'edit' option on the right hand side of 'Main navigation'
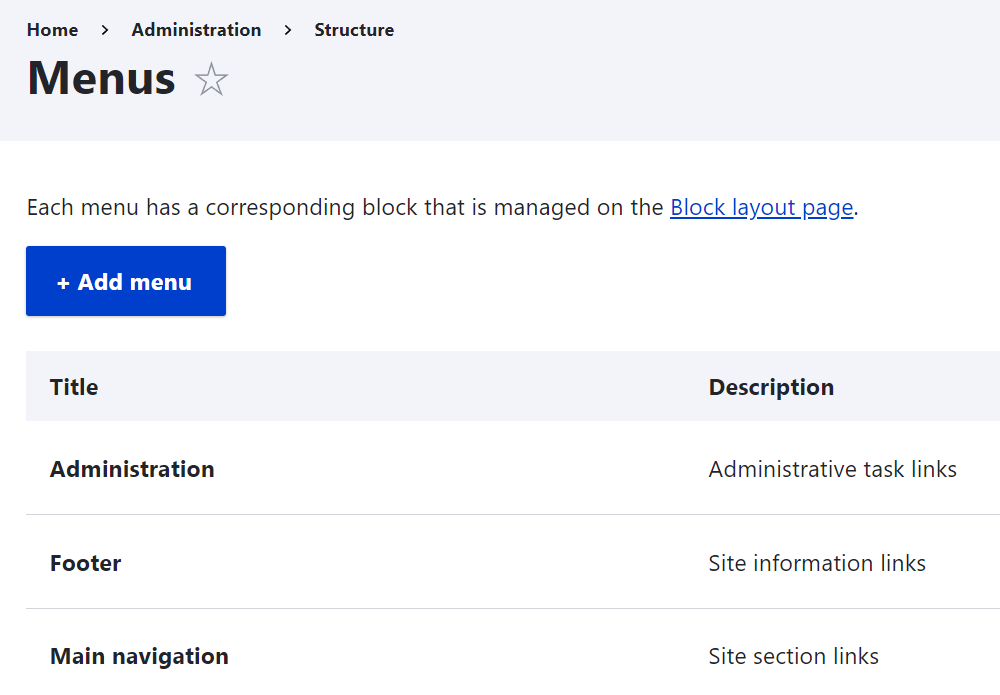
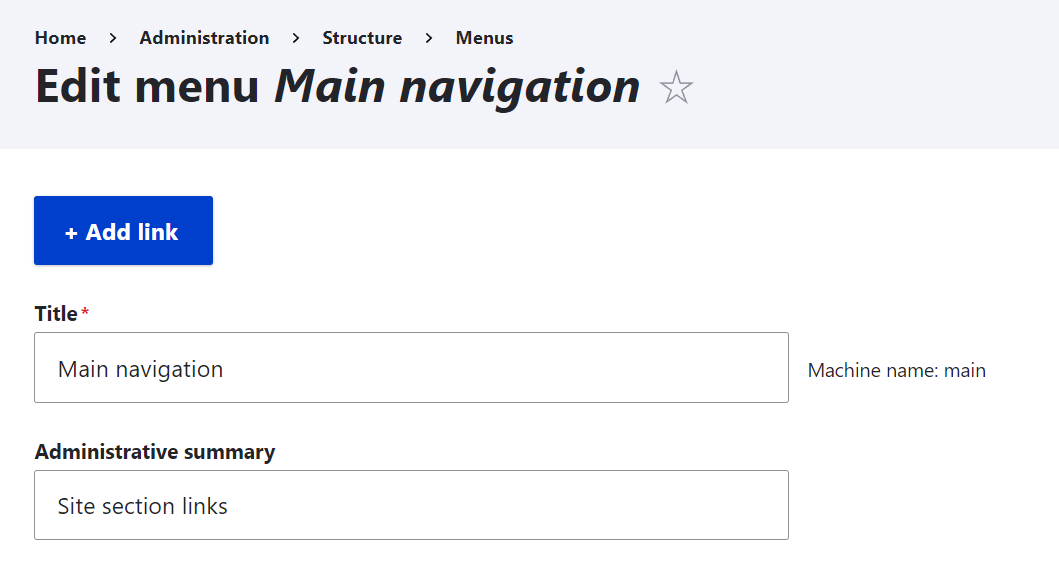
Click on 'Add Link'. Give your menu item whatever title you want (this is what shows in your menu bar) and add the link you created for your taxonomy list item.
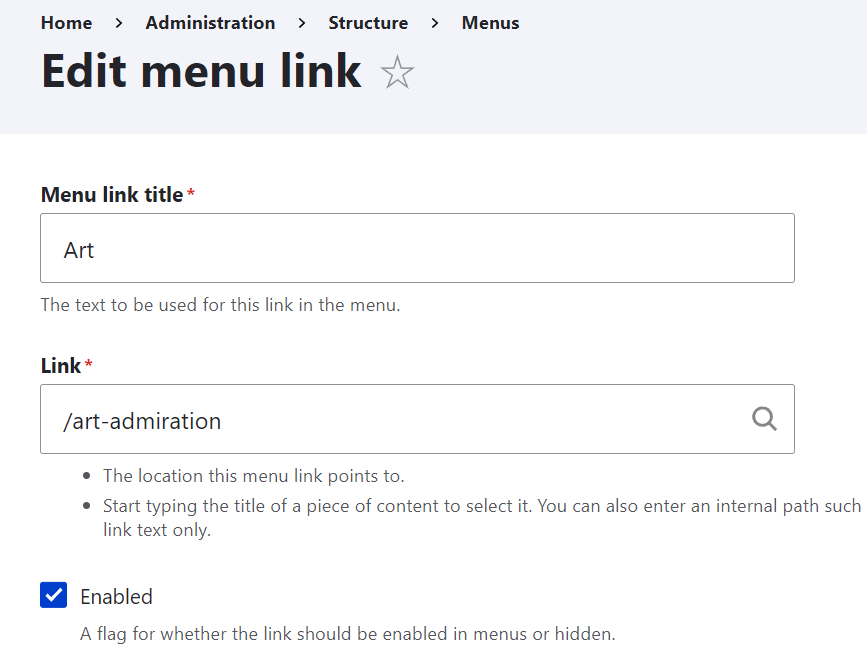
Et Voila, you have a menu item, and it will bring up all the articles that are tagged with that taxonomy item:

4.2 Fixing your images
I found that in my beautifully migrated Wordpress posts, none of the images show; instead you get an unfriendly 'X'. I can see the original pictures when I edit an article, but they don't show on the site. Instead, from the site you can get a warning that the image does not link locally.
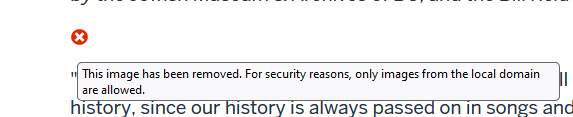
If you edit the article and look at the link, you'll see the problem; it still points to the wordpress site

So here is where your wordpress site backup comes in handy... I have not found a better way to deal with this than to replace each image, one-by-one, by replacing it from the backup copy. The backup will have all the images per year, as opposed to by month, and will be easier to find.
If you have a better way to replace all the images, let me know!
Hope that helps!
Useful Links and more information
You can find more information also on my partner's site on creating a Drupal Blog.
More to follow
Add new comment