So... your friend used a GenAI ComfyUI workflow that they say works awesome for them and they show you the amazing output they have generated ... you're drooling at your imminent ability to generate exactly such awesomeness. "Super easy" they say and send the image. You accept their image file, which they told you had all the meta data and the workflow embedded. You drag it into ComfyUI.... (see previous post on how to get this running)
and now you are totally lost. You are staring at the screen and wondering how many beers it would take to buy your friend's help for enough time to get somewhere.
Fear not, I've got you.
CLIP Loaders
Pro-tip - hit "R" frequently to refresh the drop-downs.
First, we start at the top where it says "dualclipLoad". Clip is what takes your text prompt and converts it into tokens. For some reason, Flux takes two clip inputs - no idea why. The Clip loaders load the clip model so the workflow can use it.
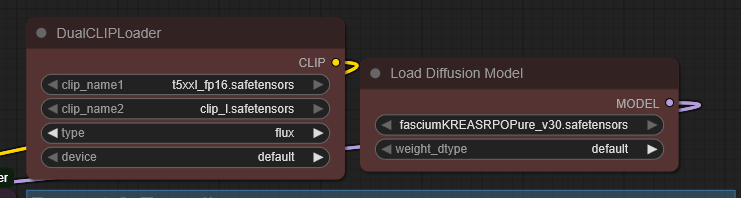
Looking at your friend's workflow, you see that it references two values for clip (clip_name1 and 2). You have a suspicion that you may need to find these files, but where....
You remember that your friend told you the workflow is for the Flux model. In desperation, you search for "clip_l" and "Flux"

Hugging Face is a very good place to start.
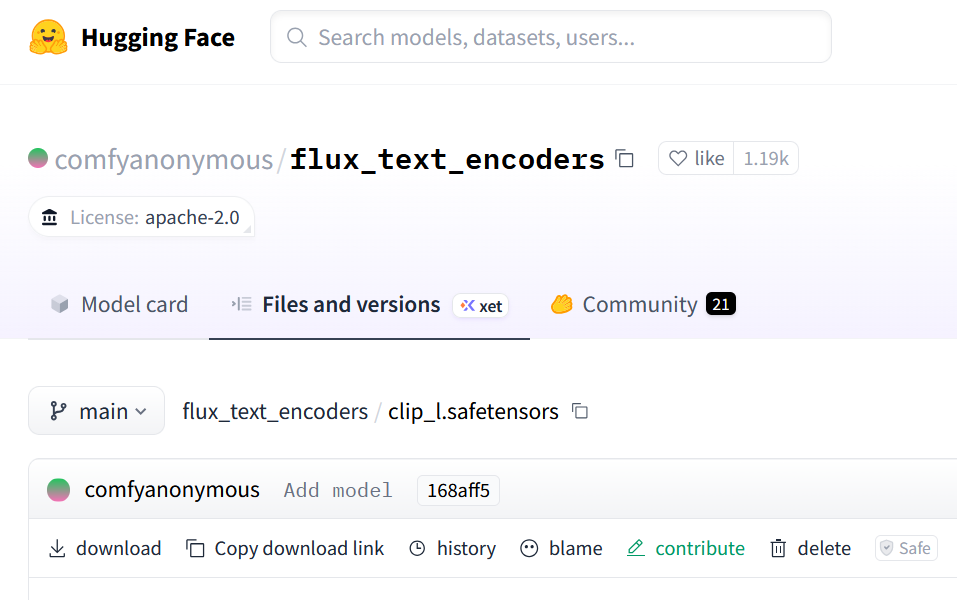
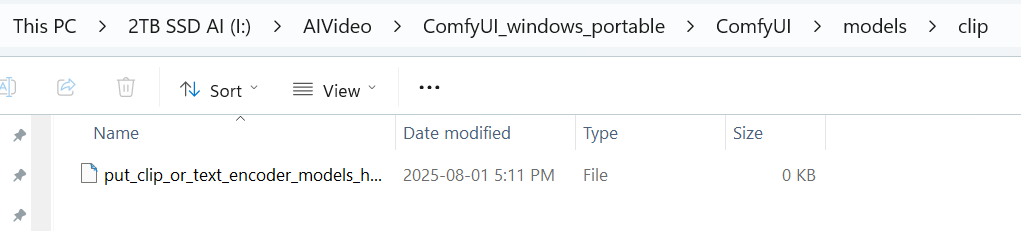
Click the 'download' (see bottom left on the screen shot) and make sure to put it in Comfy's CLIP folder. Do the same for the second CLIP t5xxl_fp16.safetensors
Flux model
Listed to the right of the two clip models, you see that the workflow references a diffusion model.
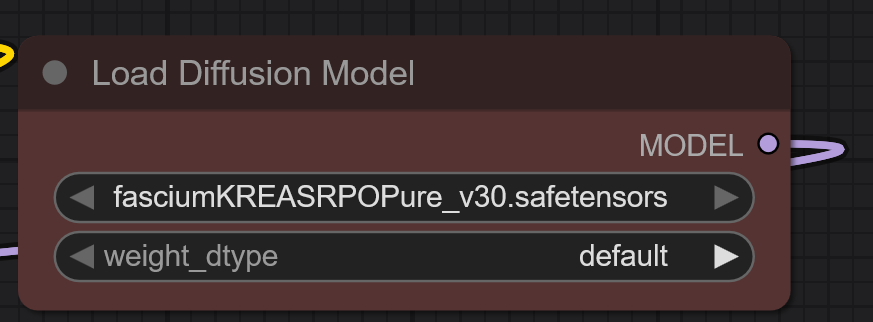
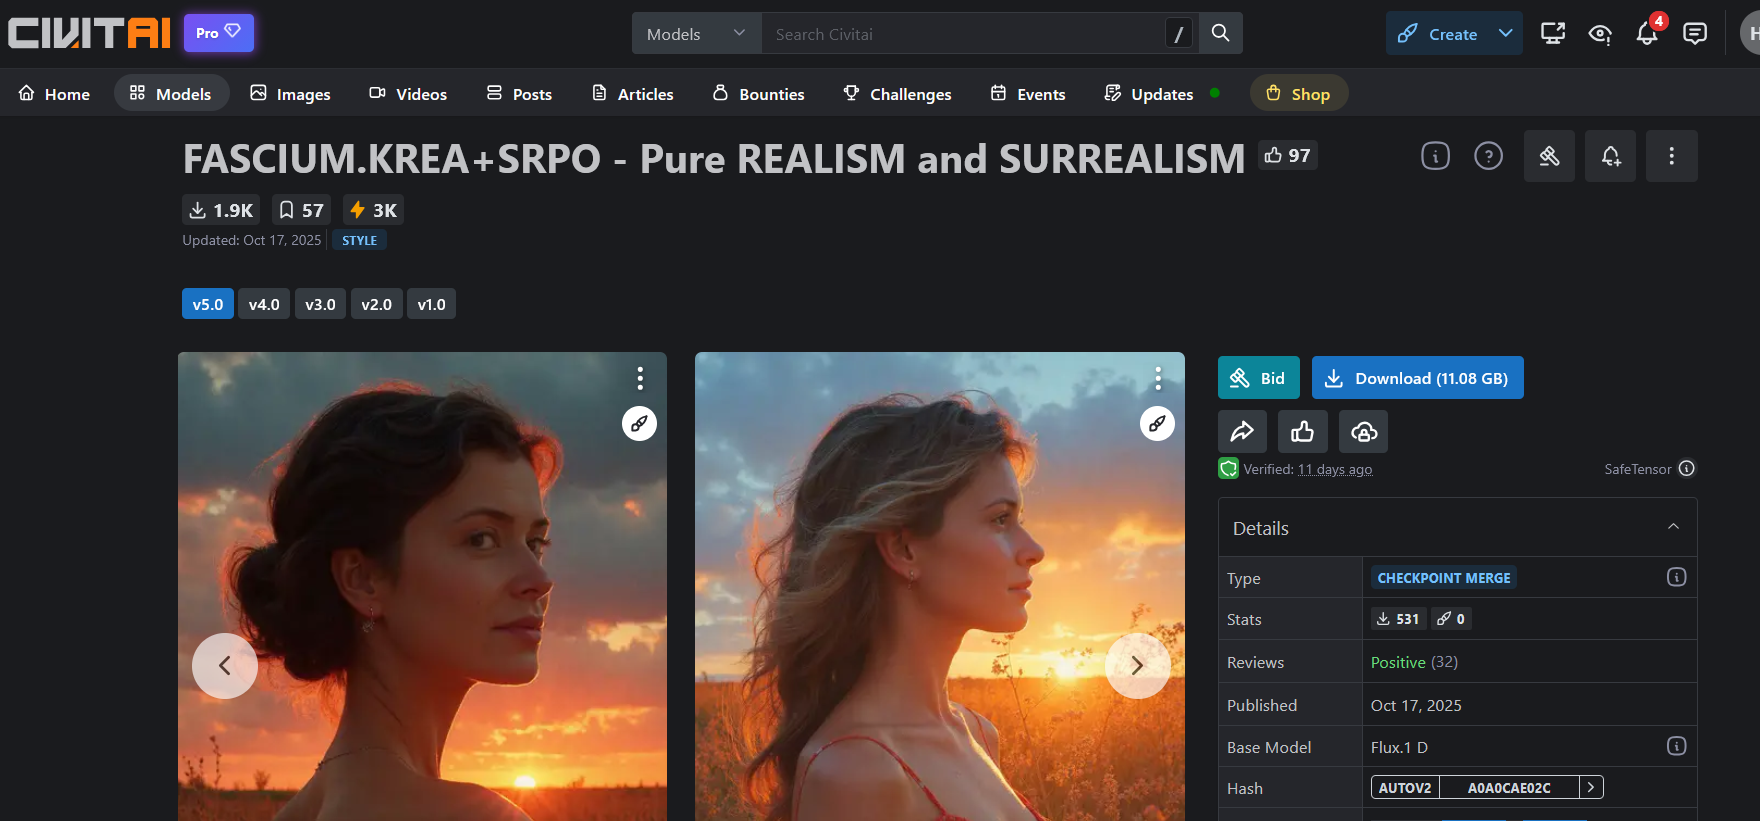
Your search magic leads you to civitai.com and the page that shows this model. As per the last post - this forum is a great source for models; note that it also contains NSFW content so make sure you use your filters etc as desired.
Choose the download option and get yourself the beer you had ready for friend currency. Put it into the 'unet' folder in 'models'. Why? Trial and error - some go into the 'checkpoints' folder.
******************
Sidenote
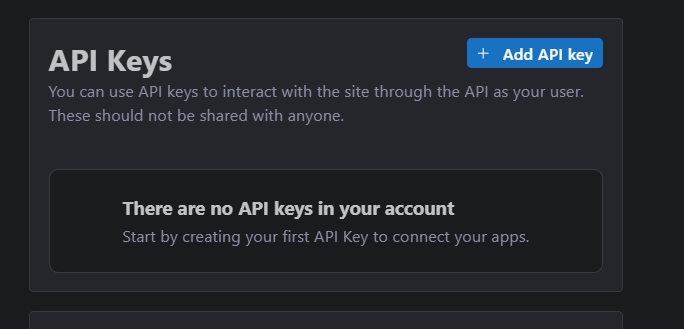
ComfyUI LoraLoader module has a great integration with Civitai. Create an account on Civitai, select under your profile the account settings wheel, then pick "Add API key", give it a name, and copy it to the clipboard.
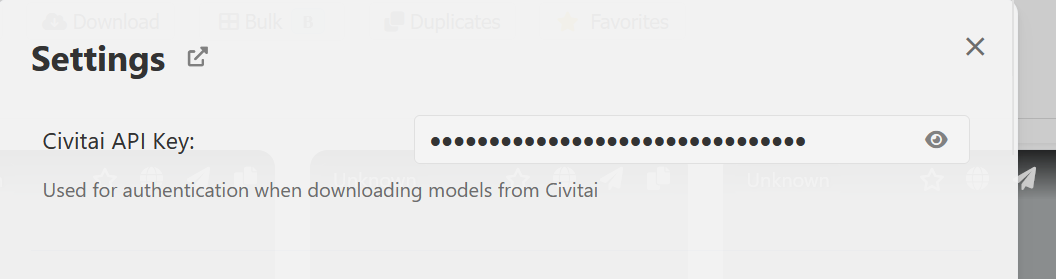
Now go back into your ComfyUI window or tab, select the 'L" icon to get into the Lora manager, go to settings (top right icon) and paste the API key. This will create an integration that allows you to more easily manage your models and Lora's.

******************
VAE loader
Last thing you need to find and download is the VAE - a Variational Auto Encoder (the thing that turns the latent into an image - don't worry, I don't follow the wikipedia article either) , which you see in the workflow to the right:
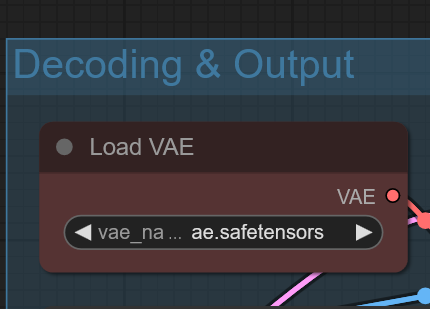
Following the same logic, you use the search-foo-magic and get the following.
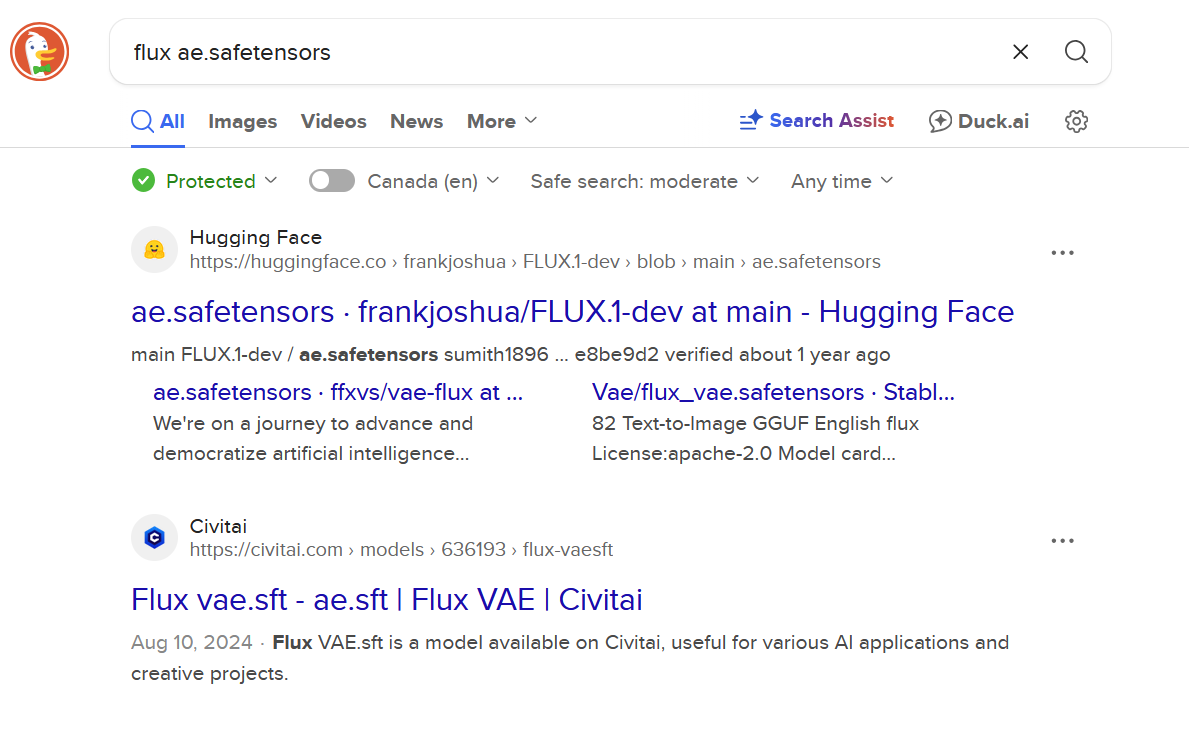
Now - I would use some caution here. I don't know who this Frank Joshua is who has uploaded this to Hugging Face. I also see something on Civitai, but that doesn't look quite like the right thing either.
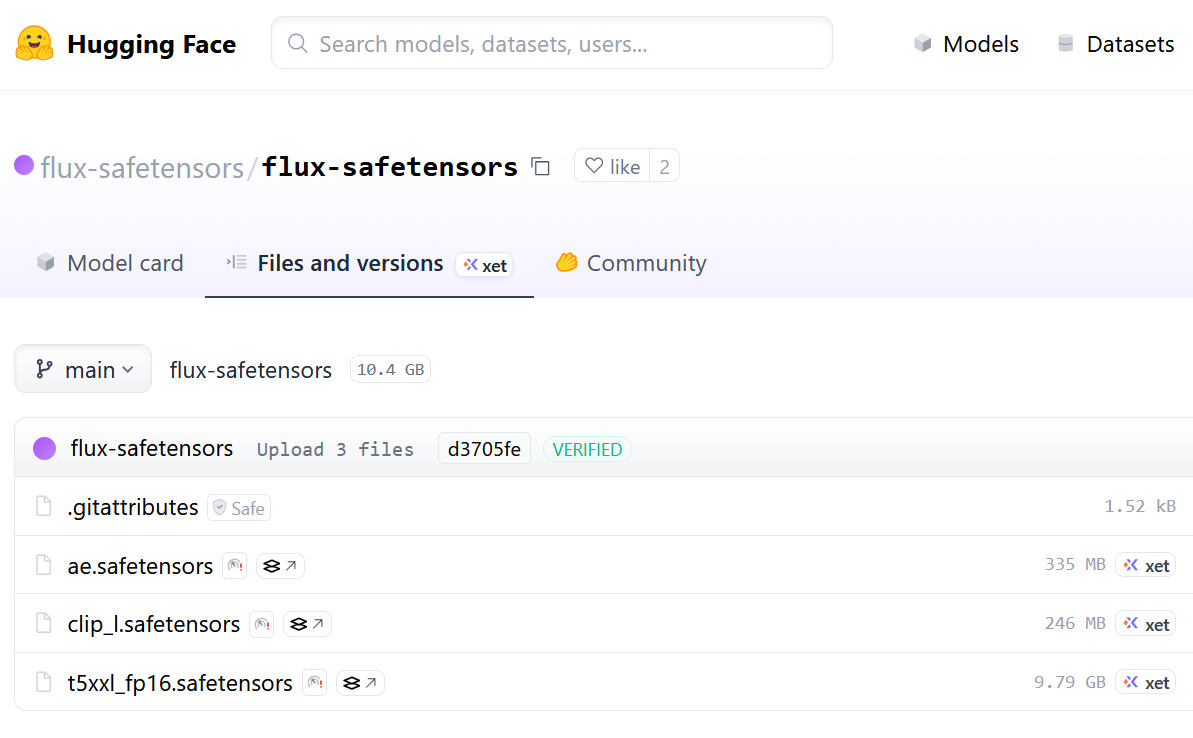
Here's where I use my 'call my friend' card. And my friend sends me the trusted download link and guess what - it has all the files I needed. Oh well. That was worth a beer.
Pro-tip: if you're not sure you've loaded all the required files. Click on a field in the workflow - you should see a drop down with all available files valid for that field. If the drop down is empty, or does not have the file you expected - the file is not there, or not in the right place. Press "R" to reload the content just to be sure.
Pro-tip: if you're getting a message "missing nodes in the workflow" - go to the Manager option and install the missing nodes; see the previous post.
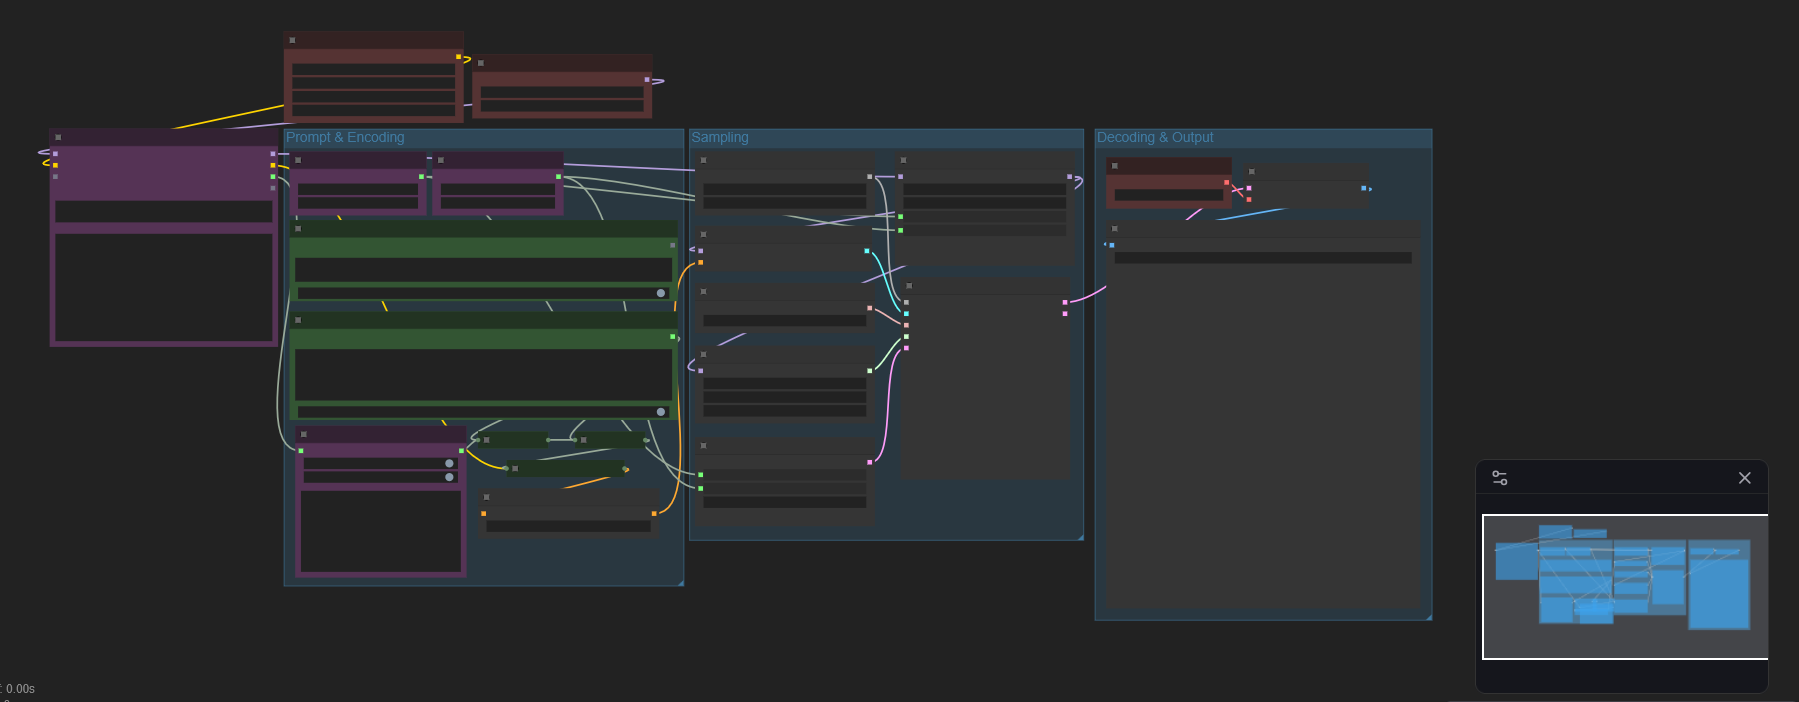
The workflow itself
You can follow the lines that connect the various modules in the workflow. My friend has, IMHO, done an amazing job structuring this particular workflow and also in creating a visual layout that makes it easy to follow.
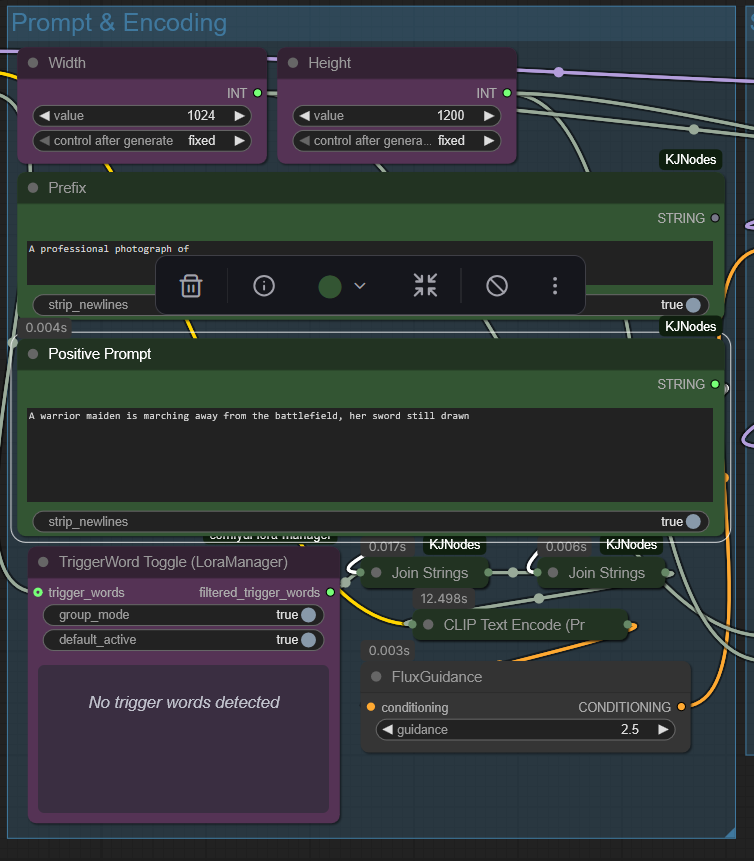
The modules are colour coded, and the ones that take your most changing input (such as the prompt and the image size) are positioned together.
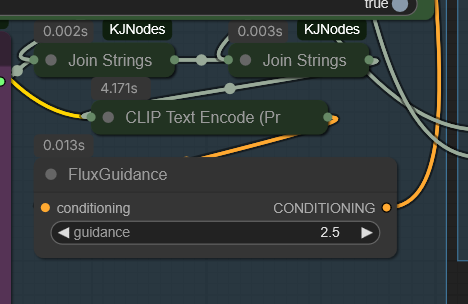
Another nice feature is shown in the screen shot below - it concatenates the value in the "prompt prefix" with the actual prompt. The prompt prefix field can be used for something you'd like to use for most images, in this case I have it set to "a professional photograph of".
Run the model
This is the easy bit. Check and update the run parameters: add your positive and negative prompt, and the image size. The Run button in Firefox is on the top bar, but I've seen it in other places on other browsers.

Sit back and brag to your friend. From this point on, the magic is in your prompting. Your generated image will be in the output folder.
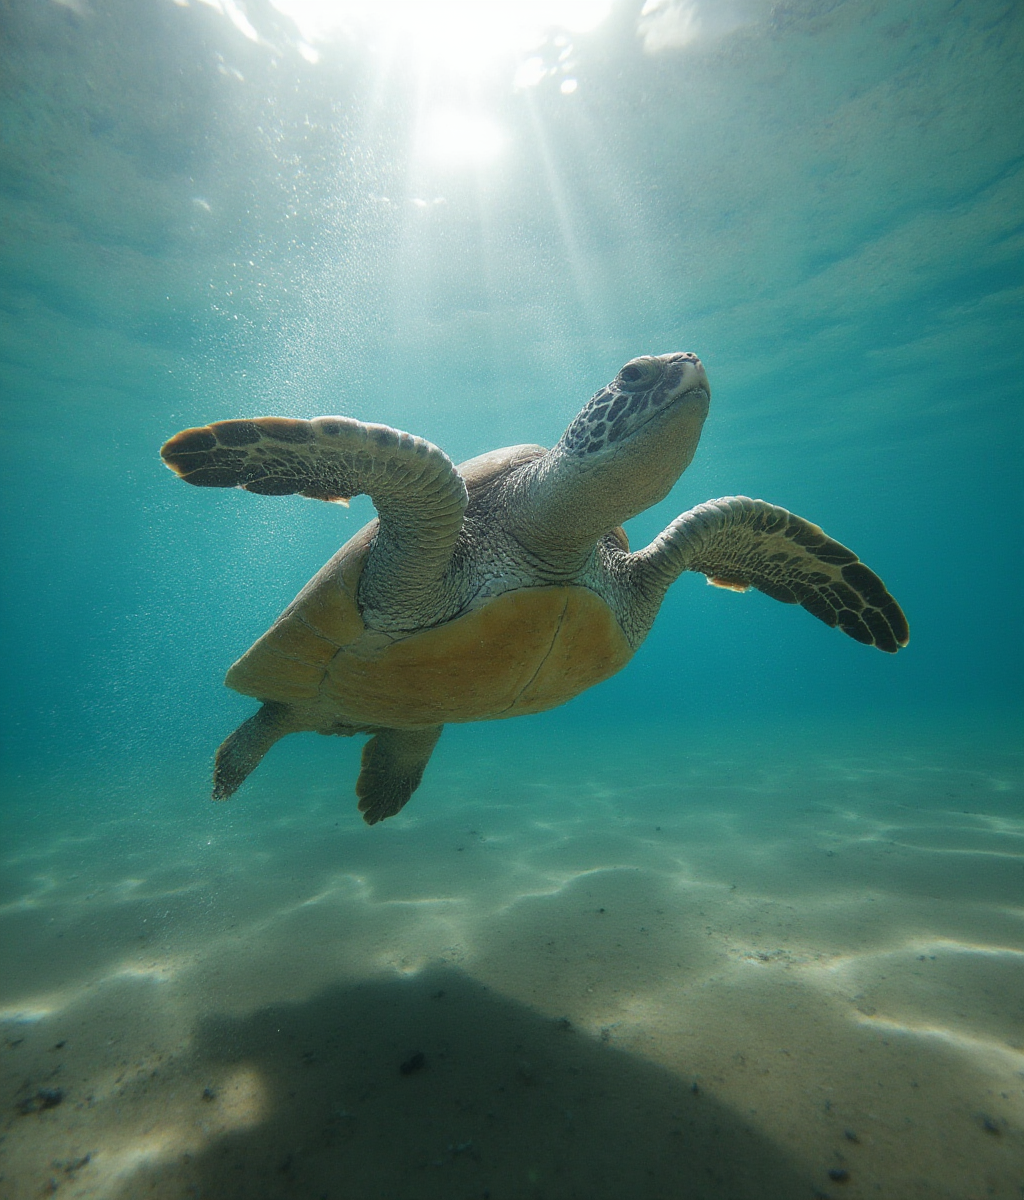
And here are the generated images. If you download these, they should give you the workflow.

Add new comment