Note: this article is applicable to home and small business network architecture
Introduction
I cleverly preempted your first question ("why the heck are you making it so complicated, no-one is trying to compromise my network anyway") by including "over-engineered" in the title... :)
However, I would argue that there is no harm in making your home network properly secured and safe. It is useful to learn 'the right way to do it' even if it may be slightly overkill. And you never know, you may become famous, or your home-based startup may suddenly take off, and you'll be glad you've set things up to scale.
Oh - and by the way, your home network IS under constant attack even if you don't notice it. A typical home network deals with tens of thousands of attempts to get past your perimeter every day.
If you are looking for a more simple approach for your home network, please check out:
- Home Networking 101: Minor security improvements
- Home Networking 201: creating a more secure home network
An enterprise grade home network setup
If you are more adventurous and dedicated to setting up a great home network, here's how you can achieve this.
You will need one device (workstation, laptop) to do the setup. A laptop is handy since you need to connect your setup device with an ethernet cable to the things you're setting up, and something that you can move about helps :)
Sadly, there seems to be no 'intermediate' solution that you can buy and just works - I think there should be, but there isn't. So assuming you've bought the equipment suggested in this post, you will need to set it up and configure and you will need to have a certain level of knowledge or curiosity to be able to set this all up. Or phone a friend with an offer of free & copious amounts of craft beer and get the help you need :)
Network design principles
Just like in the previous articles (see above), we will be applying a number of network design principles:
- segmentation
- access control
But we will not seriously apply items that are a definite requirement for enterprise networking but we'll skip for home networking:
- encryption
- IDS/IDP
- monitoring & logging
Physical network - the things that cost money (<$1,500 total)
You will of course still need the ISP's magic box. Assuming you have that, invest in the following equipment:
- Gateway device & firewall appliance (same box), ~$300
- Multi-port managed switch ~$100
- One or more WAPs ~$200 each
- Ethernet patch cable (CAT-6) ~$50-$100 depending on the number you need and the length
- UPS - ~$300 (optional)
We used the following (and all of these are higher grade and more expensive than listed above as we like to over-engineer :) )
- Gateway device: we choose the pfsense netgate 2100
- Managed switch : we choose a 48 port POE (power over ethernet) Cisco managed switch (bought it used from ebay)
- WAP: We choose the Unifi cloud key and nano WAPs
- UPS: We choose the CyberPower CP1500PFCLCD
Logical network - the things that cost time
Design your network segmentation: something like the following:
- INTERNAL - everything that is trusted
- DMZ - everything that needs to be exposed to the internet
- WIFI - the wireless world of things you trust
- GUEST WIFI - the wireless world of things you are not sure of
- IOT - the world of things you should definitely not trust.
In sequence, you will do the following (see the following chapters for details):
- Have your ISP configure their magic box's to 'modem only' (bridge mode, pass-through mode, or whatever it is called).
- if you invested in the optional UPS, connect the power of all devices to the UPS. This will prevent your network from going down if there is a short power failure, and protect your devices.
- Connect your switch to the cabling in your house
- Setup your gateway: define the VLANs, DHCP and the firewall rules
- Setup your managed switch
Gateway/firewall appliance
Our gateway device will be configured to act as
- the firewall (as in, it will use rules to allow only certain traffic in & out, and those rules will be augmented with downloaded latest intel)
- segmenting the network virtually by maintaining VLANS. A VLAN is a way to logically tag traffic and ensure it stays within its defined sandbox (segment) only. This helps with network saturation but is primarily done for security: to segregate trusted and untrusted connections. So even when a bad actor or malfunctioning or compromised device manages to get onto your network, they are contained to the 'lobby' only and cannot easily get into the building.
- DHCP: it will provide the IP addresses for your devices
Configure your gateway
pfsense is the software we use to provide the firewall heavy lifting. It comes with great documentation on how to configure it.
- We will start with a standalone setup - your gateway is not yet connected anything.
- Connect your setup device with an ethernet cable to any port; it won't be the WAN port, but read the install instructions, and open a browser to access the configuration screens per the instructions
- Note that the actual configuration screens are very brand specific
- Setup the VLANs - one for each of the network segments you need (see above). For example:

- and you can call them anything. In this example:
- the Management network is INTERNAL - everything that is trusted
- the Server network is the DMZ - everything that needs to be exposed to the internet
- the WiFi subnet is the WIFI - the wireless world of things you trust
- The Guest network is the GUEST WIFI - the wireless world of things you are not sure of
- The IOT subnet is the IOT - the world of things you should definitely not trust.
- Assign the VLANs to the appropriate physical ports (sometimes a single ports can have multiple VLANs) - and this depends on your device. The more ports you have, the more bandwidth you can provide in parallel as the traffic will be split. So - if you have 5 VLANs and 4 ports, choose which two you want to combine. NOTE that we've modified the screen shot to blank out the actual tag numbers to protect our own network security.
- Setup your gateway to be a DHCP server for all interfaces but the WAN.
Recommend to assign IP addresses to each MAC address for every device on every segment. Limit the number of addresses that are assigned at random to max 2. On a segment that is more important to you, to not allow ANY random assigned IP addresses (e.g. the management network). So really, you should allow extra IP addresses only on the segments where you expect devices to come & go, i.e. your guest network. For testing and for adding new devices, it may be handy to allow one randomly assigned IP on your INTERNAL segment to assist with getting the MAC address for new end points. - You'll want a DNS entry for every device (on every segment) you plan to connect to internally. Most gateway appliances will assign DNS entries automatically based on the DHCP entries you've just created. But if it doesn't, create it manually for those devices that require one - and you can always add later. Remember that even if you don't create a DNS entry, you can also always use the IP address to connect to a device - having a DNS entry just makes it easier. Also remember that a DNS entry on your gateway does not make a device accessible from the outside - it is just assigning a name to an IP address for easier readability.
- On your gateway, now create the firewall rules. For each segment, create rules that dictate what is allowed in terms of connection. Also create rules for connections between segments and from segment to the internet. Allow the absolute minimum required.
- As in: configure the firewall settings in the gateway with implicit deny for everything - only allow the things you want. How to do this is very specific to the device - check the instructions. Do not allow any segment to connect to anything else - including the internet. A good gateway device will have this as the default.
- Example below showing a rule allows the local VLANs (USR MGT, WIFI, etc) traffic on outbound port 443 and port 80. Our device allows you to create a rule that applies to multiple VLANs, if yours does not, you may have to create multiple rules. Also note that these are TCP ports and not the physical ethernet ports we've talked about so far. This goes beyond what we're trying to explain: read more in XXX, You may also need to create rules for UDP ports. Use good comments and descriptors where your device allows it!

- Create any additional firewall rules that are VLAN specific to allow the minimum amount of connectivity you need. This could be traffic from a VLAN to another VLAN, or from the VLAN outbound to the internet.
- Example below - the first rule says to allow any packet from any source IP and any port (information which is included in the packet) with destination listed as any address on the IOT VLAN to port 53. This will allow DNS inquiries only on the designated DNS server for this subnet. The second rule is disabled. The third rule blocks everything else. BUT remember in the above example, we also allowed on the IOT VLAN any outbound traffic on destination ports 443 and 80. If my thermostat tries to connect to its OWN DNS server somewhere out on the internet, the firewall rule below will not allow this since it only allows a DNS request in the address range for the IOT VLAN. Note that this does not prevent DNS over HTTPS because we have allowed port 443 via the first rule above. (We do have a block list for all known DNS over HTTPS servers to catch most, but not all, of this).

- Note that you probably don't need to do anything on a stateful firewall appliance like the one we used to support connections established from inside your network. So your laptop connecting on port 443 to a website will be allowed response traffic back to your laptop, because your laptop initiated the traffic, and a stateful firewall will by default allow this.
- Out of scope for now is If you need to support internet facing services such as your own hosted servers that might need to accept connections that were not initiated from inside your network.
- There are additional intrusion detection systems (IDS) and intrusion protection systems (IPS) features available on most gateway devices. These tools will do things like dynamically provide lists of suspect IP address and suspect traffic patterns based on known patterns that you can block.
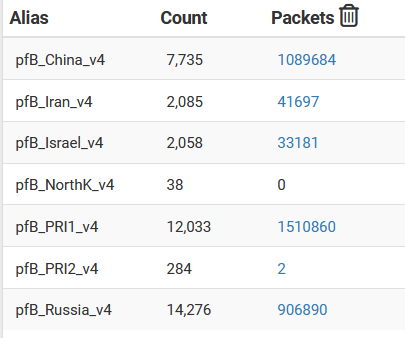
For instance we use a combination of SNORT and PFBlocker and you can see below how much traffic is being blocked just by PFBlocker alone. This does not only add security, it also reduces unnecessary traffic on your network.
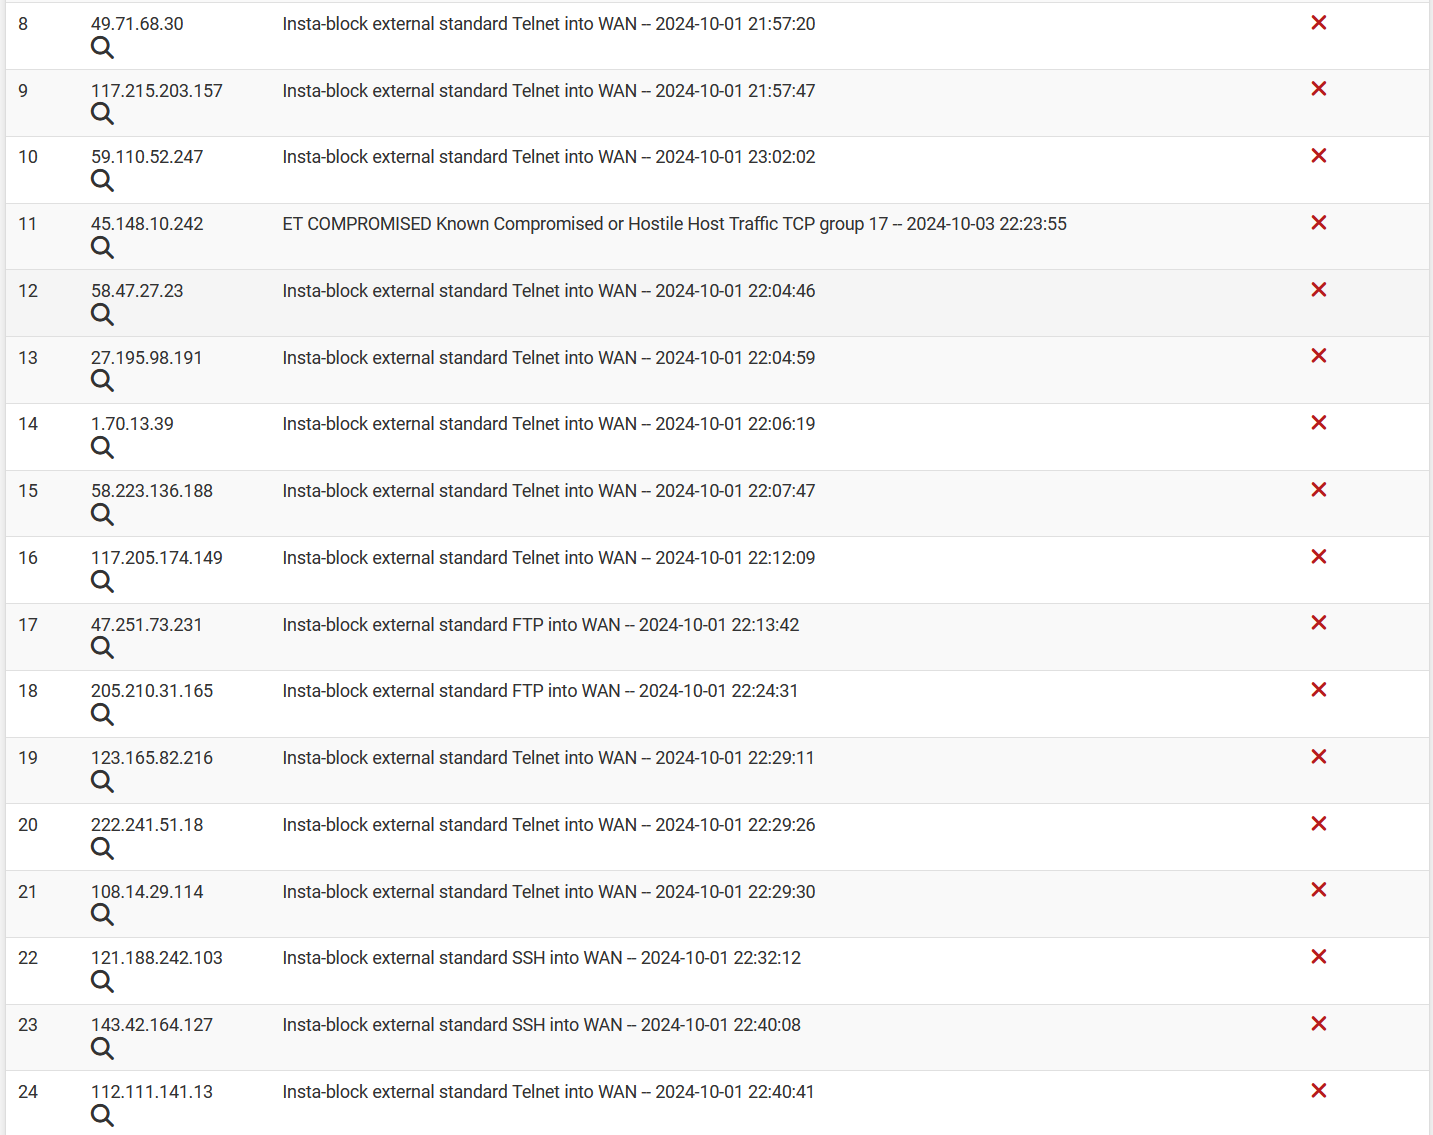
- We also have defined rules that do not allow traffic to or from certain geographical regions. Or inbound on certain ports. And our settings will also block your IP for an extended period if you've tried to come in on a port we're not allowing (like Telnet) because there should be NO reason for any IP to try to connect to that port. It is a good way to detect and block the automated scanners on the internet - and there are a lot.
Use your laptop to connect to a port on your gateway, say the USER network, and confirm it is working and you can get to the internet.
Managed network switch
Now why, when you already have a nice gateway appliance, do you also need a switch? Well, here are some really good reasons:
- Number of ports: Unless you plan to do everything over wifi (and you shouldn't :) ) you probably don't have enough ports on the gateway to connect all the ethernet cables. A switch allows you to consolidate traffic from many ethernet ports into the four or so you have on your gateway.
- A switch gives you more control over network segmentation - more about that later. The gateway defines the segments, but your switch also needs to support the VLAN
- Many of your IOT devices can be power over ethernet (PoE) and you don't need to feed them with a power connection. Note that a switch will have a maximum power it can provide.
- If you want to change your network topology, you can more easily change the ethernet connections in one place
- A switch will allow logic to change network segmentation depending on what Mac address connects. For instance, you can create a rule that if this particular known Mac address connects, connect it to a trusted VLAN, but this unknown one can only go to the untrusted VLAN. Or do not allow any unknown Mac addresses to connect at all!
The managed switch will have ethernet cables from various places in the house connected to its ports. Some cables may come from the WAPs, some may come from a particular computer, and some are connected to the general cabling that is all through the house.
We use two patch panels to keep things organized, but it is not required. The picture shows our three components mounted in a rack:
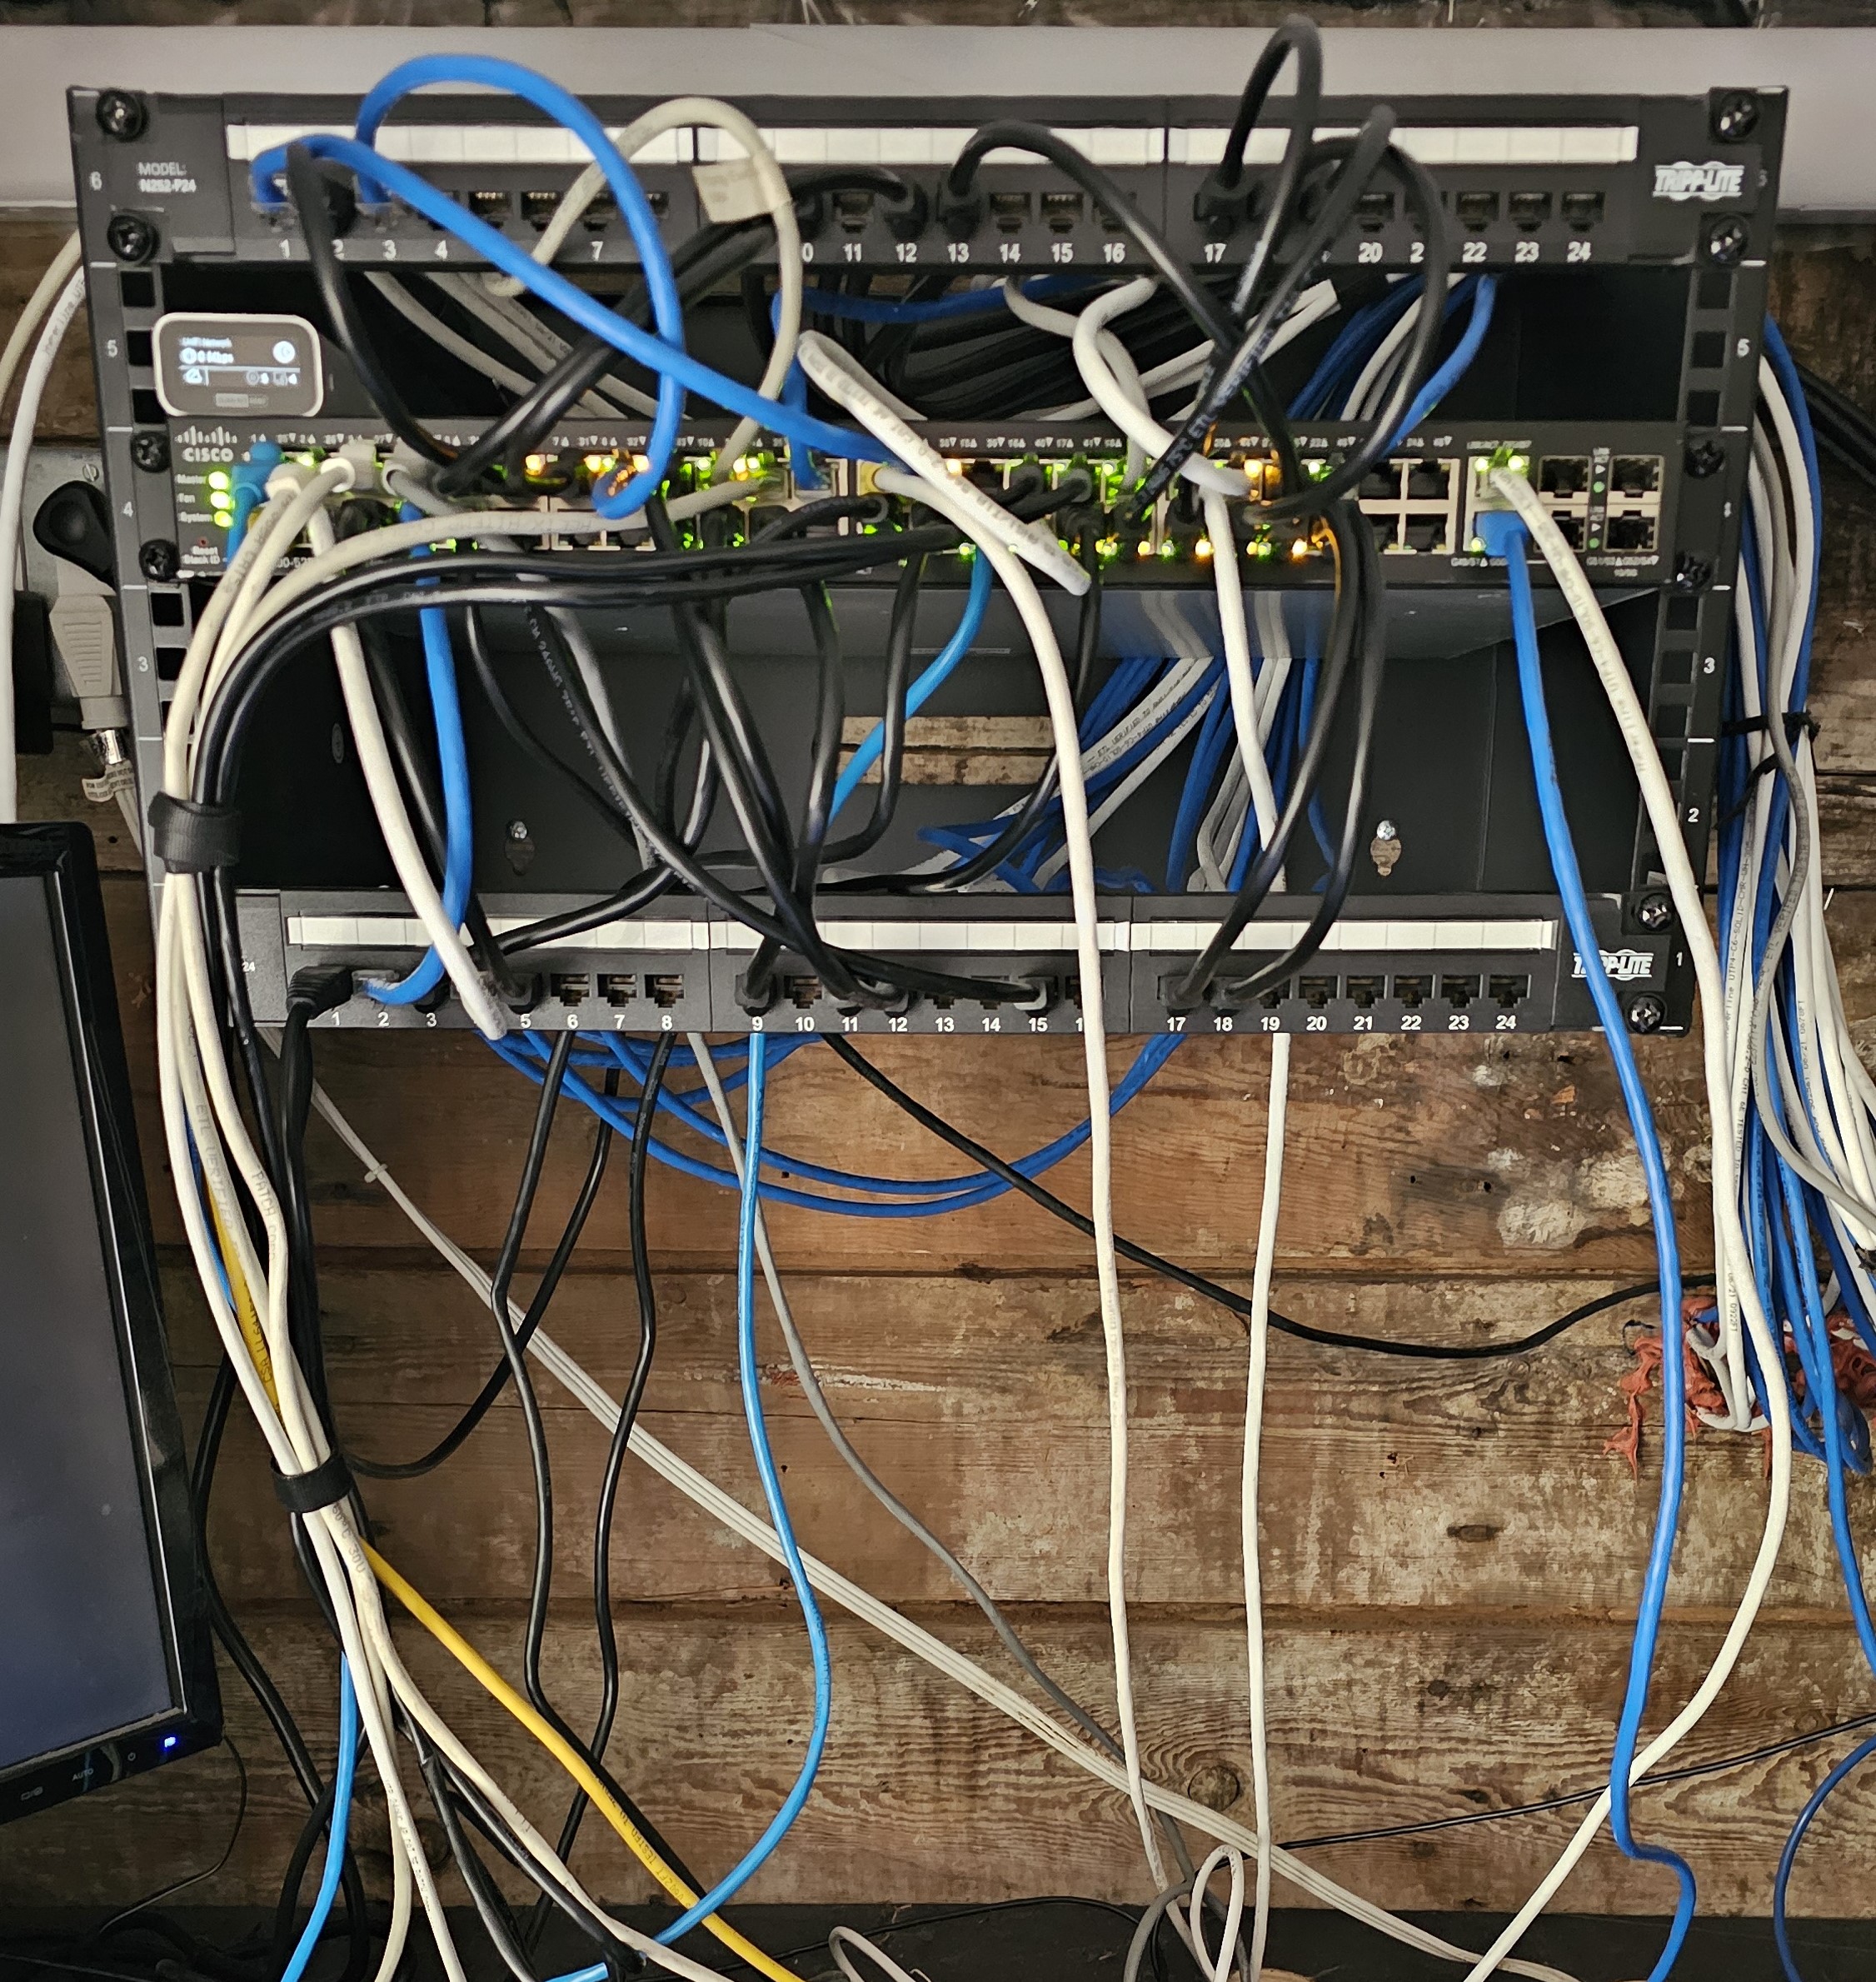
- a patch panel on top
- the managed switch in the middle
- another patch panel at the bottom
Yes, Yes, I know, we still have some cable management to attend to :)
First connect your switch to the gateway and your laptop to the switch - and confirm again that things are working and you can get to the internet.
Everything in your house, every endpoint, will connect to a port in your switch. Your switch needs to be big enough, have enough ports, for all of them. You (or your electrician or network contractor) would have wired all network ports in your house to connect to the location where you plan to install your switch. Make sure you wire for your WAPS and other IOT devices as well! Once you close up the walls, it becomes more tricky :)
Complete your network design so that you can configure your switch
Complete your network design. Plan ahead, and document:
- Decide how many devices will you dynamically assign IP addresses to (via your DHCP config) vs static assignment based on Mac address
- for each port in the switch which VLAN or VLANS you will tag it with or accept
- Document the tag numbers and which VLAN you plan to use them for. See the gateway setup
- wifi has multiple networks - they pass multiple VLANs on the switch and they come in on the same physical port. Switch needs to be set up for this.
- Don't skimp on your switch ports - you always need more than you think. Also, maybe because we bought second hand, we have a number of defective ports. And you only find this out through trial and error. Document, set the switch for this port to assign VLAN black_hole, but an ethernet connector without cable in it, etc Spray paint this connector red, or whatever you need to do to remind yourself :)
- Buy another beer for your buddy and talk this through
- Did I already say DOCUMENT???? keep track, keep a cheat sheet of e.g. each port on the switch and which patch panel position it is connected to and what place in the house the cable goes to. Just like you would document your circuit breaker panel.
NOTE: yes it is possible to lock yourself out of your switch admin - but it takes some effort.
To decide what tag numbers to use - it is really up to you, but here are some common practices:
- tag - number between 0 and 4,095 (max based on the VLAN standard, which is a binary 12 bit number)
- however, no-one uses 0
- and 1 commonly used as the default for the admin VLAN
- Note that VLAN are at the mac level, layer 2 of the OSI model
And you will set up certain of the switch's ports with a connection to one of the few ports on the gateway. You will usually set up this port to pass all VLANs since they all need internet access.
Then: Configure your switch
The switch's job it to make sure traffic flows in & out and only to places it is supposed to go. It uses packet switching, i.e. routing of the network data chunks (packets). All network traffic is broken up into packets, and each packet has a header with routing information (address, priority, etc) and a 'payload' which is the actual data to be sent. When we talk about 'tagging traffic', we mean that the switch updates the packet header with a bit of information to indicate this particular packet's 'tag'. Imagine the switch as your network traffic cop, standing on this massive roundabout of an intersection and making sure things stay within their lanes.
The switch uses a number of pieces of information to decide what to do with an incoming traffic packet
- the packets point of origin, which it figures out based on either
- the incoming physical port
- the Mac address of the sending device (which is listed in the packet header)
- the tag the packet may already have (some sending devices can tag traffic)
- the requested destination address (which is also listed in the packet header)
- the rules you have set up
The switch can be configured to:
- Ignore tagging entirely (allow everything and don't modify anything)
- Tag all packets
- Tag only those packets that don't already have a tag
- Only allow packets that have certain tag(s)
The secret switch sauce is the VLAN tags you have designed, and the things the switch learns about the devices that it sees traffic from on various ports, that it uses to determine which ports to allow traffic on.
Once you have tested that your laptop connected to a single port in the laptop can get to the internet, proceed connecting one end point at a time to the switch (plug in the ethernet cable to the port) and test with every change you make.
You should now have a gateway and switch that are working together!
WiFi and Wireless Access Points - WAPs
You'll want to purchase WAPs that are capable of providing a 'mesh' function. This means that each wifi device (WAP) works together to each broadcast the same SSID so you can move from any point in your house or yard without wifi interruption.
Spend some time figuring out where to place your WAPs - your wifi signal is usually line-of-sight and doesn't deal well with walls. The higher the frequency (think: 5G) the worse its ability to deal with walls. Any obstruction it has to go through, will reduce the signal strength.
We choose WAPs from unifi, and the unifi website has a nice floorplan based option to determine WAP placement and coverage.
Besides, they are super pretty
The mesh fabric is created by a 'mothership' controller either in the cloud or an on-prem (as in: in our data centre, not someone else's) device. I'm sure you're very surprised to hear we use an on-prem version.
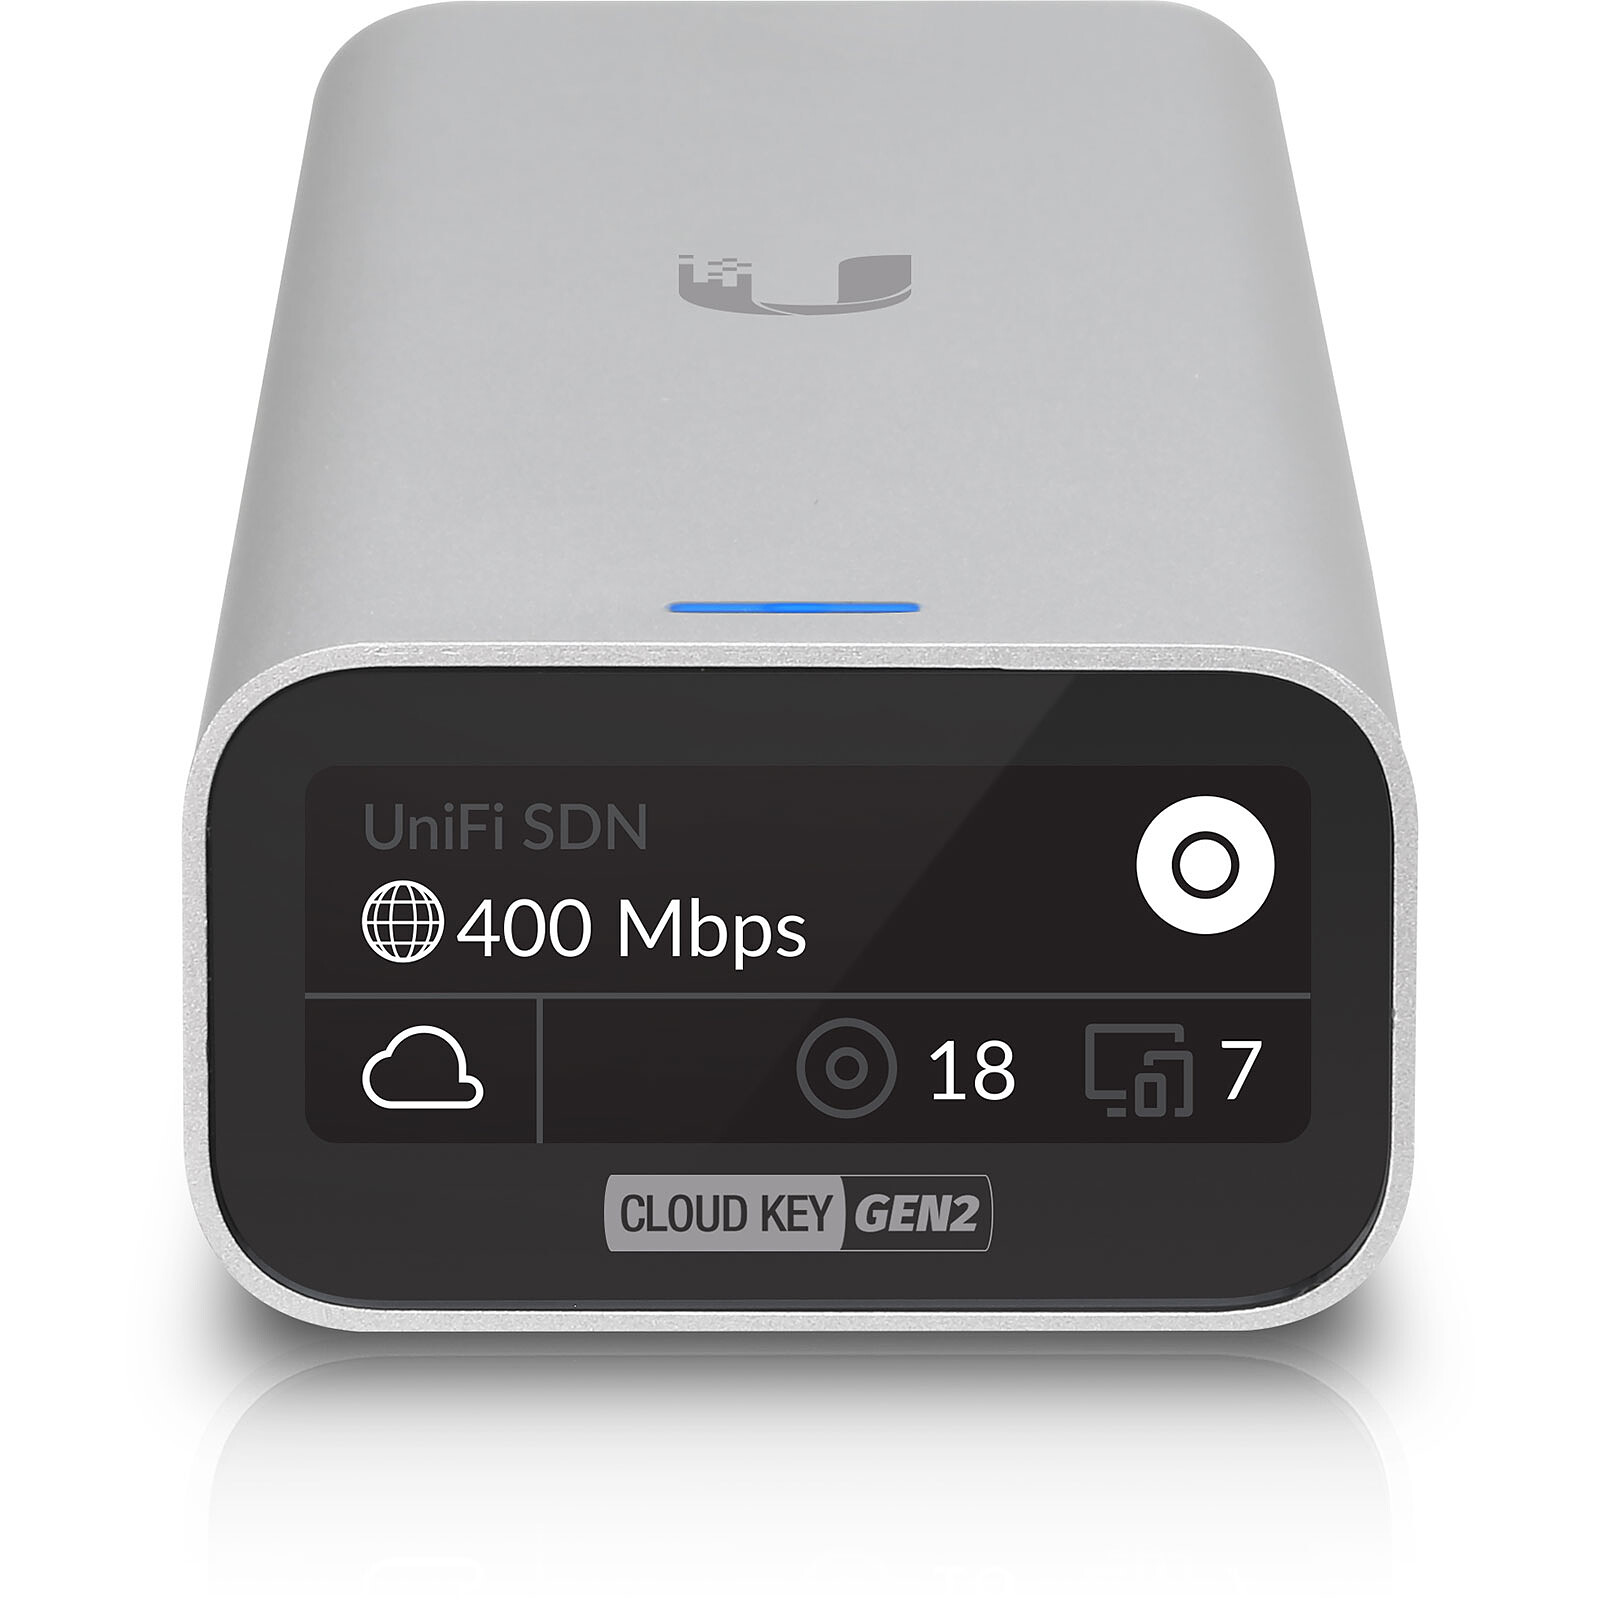
There are WAPs that talk to each other and figure out the mesh situation together - but this option gives you more control.
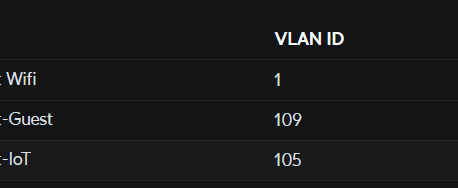
By connecting to the management interface of this Unifi mothership, you can specify network settings for each WAP, such as which VLAN to tag traffic with, and which SSIDs they should provide.
The management interface also gives useful information about currently connected devices for each WAP, etc.
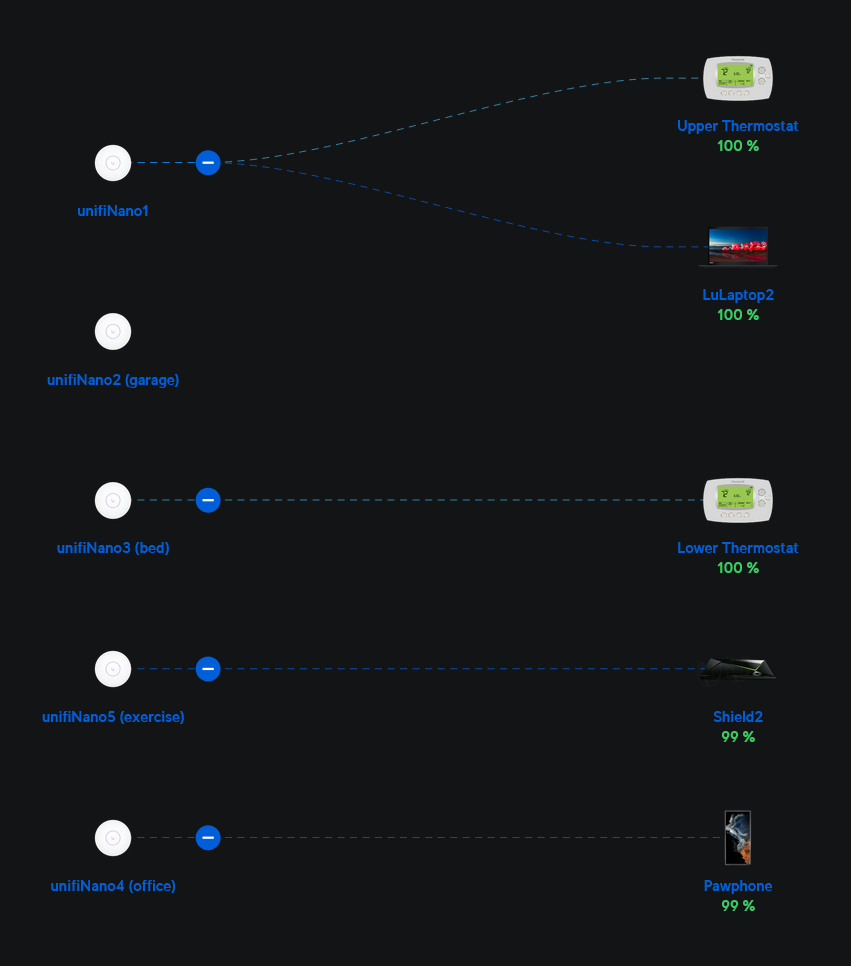
So - log into your management console, set up your WAPs, and you're good to go!
Operational procedures
- Diagram your network.
- Define a maintenance schedule. Everything you have set up will need regular software updating.
When it stops working... some common problems
- (If you are hosting anything - static IPs and properly certificate for the devices -- if you are providing access from the 'outside'. Will keep this out of scope for now :) )
- Power failures - check your gateway and make sure it is on UPS
For further reading
- The Art of Network Security Architecture, Benjamin Johnson, available as Kindle e-book
Network Design principles
- your network should be segmented, keeping communication and access restricted to a specific 'traffic lane' within your network. This ensures that users (and processes) have access only to devices in that segment, and cannot go out exploring outside of their lane.
- your network should be zero-trust
- your network access should be disallow by default
- your network should be user-friendly. You want to provide access for your visiting friends, so they can look up that definition and obliterate you in scrabble. You want your own devices to have uninterrupted access, regardless of where they are. I wanted to be sure to have internet access in the yard as well, so range is important. I want to be able to use my phone as a remote for the audio and video, which requires it to be on the same wifi.
- You'll want to design your network to meet your requirements. Do you just want to provide access to the internet for anyone in your place? Are you expecting to make content or services (think: website) available to the internet? Do you have a printer that you want everyone to be able to use? What is your home entertainment setup and needs (audio, video)? Do you plan to have video cameras or home security? Home automation? Each of these define some of the capabilities you will need.

Add new comment