
A lot has happened in the past 6 months in generative AI and models and tools have substantially improved. We've upgraded from Stable Diffusion to a new base model called Flux, so let's have a look at how to install and use it. We're also upgrading to a new client WebUI Forge, which looks very familiar to those already using Automatic 1111 but has some new features. Automatic 1111 is no longer maintained, and Forge is a fork. Note that Forge currently has a memory leak, and to fix it you have to periodically switch to a different base model to clear the GPU memory. You'll know you've reached this point when it stops working properly :) and may even generate pure static!
To run GenAI locally, you need both a model and a UI client that uses the model to generate images. You'll notice below that you start the UI by clicking on run.bat you of course get the console window, as well as a browser tab. They need each other! The browser tab allows you to more easily specify the parameters, the console window is the running program and will provide progress updates and error messages. Keep your console window visible!
To run Flux, you'll need sizeable GPU. Sadly my puny 1070 with 8Gb VRAM cannot handle this model and I will have to upgrade - or choose any of the other models that are a bit more memory friendly. Huggingface will have others as well.
And with that, let's get started!
Installing WebUI Forge on Windows
==================================================
Thankfully Forge is MUCH easier to install than Automatic1111 because they provide a one-click installer.
Visit the https://github.com/lllyasviel/stable-diffusion-webui-forge repo. We'll first try the fastest installer for Windows - scroll WAY down on the page. If you have an older GPU, the faster newer version may not work, but try the download and install steps and see if you get an error. I tried the faster option but it failed, and I had to fall back to the 'recommended' version.
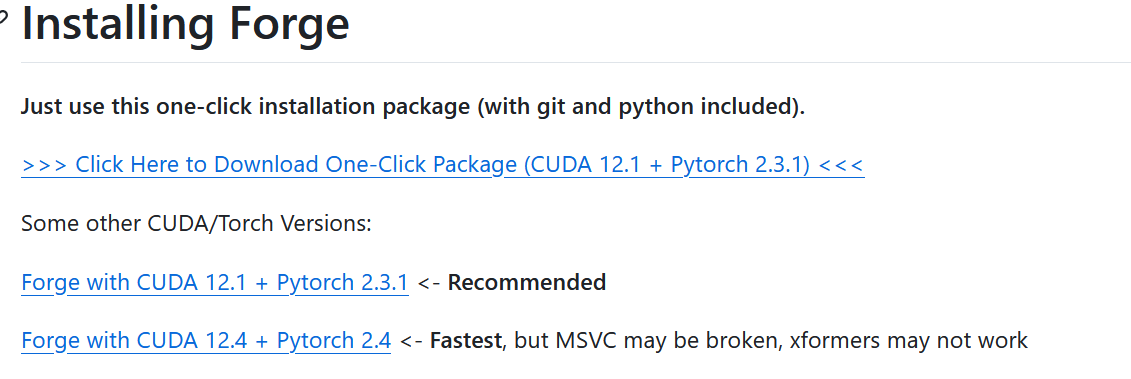
Try the faster one first: Forge with CUDA 12.4 + Pytorch 2.4
and click on this link to download.
And yes, we're okay with the warning "Fastest, but MSVC may be broken, xformers may not work"
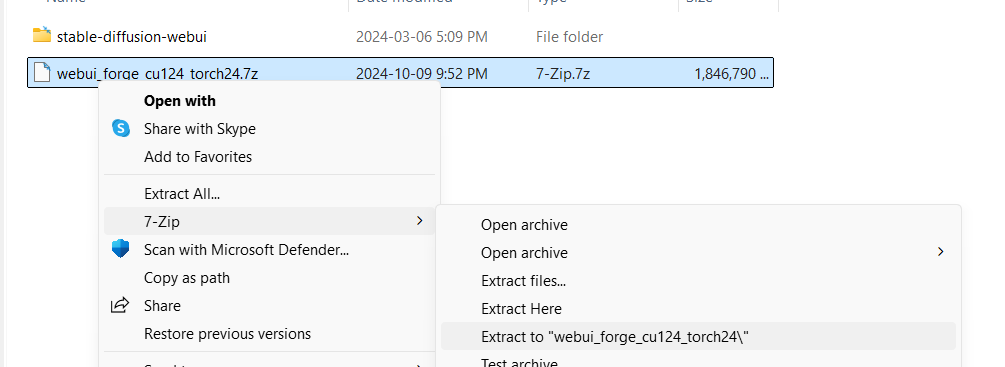
Extract the contents - which will take a while (almost 2Gb).
First run update.bat to update to the most current version, and then use run.bat to run more install stuff.
(note that if you're paranoid like me and have something like glasswire running, be fast to click the approve button :) Also note to check your graphics drivers for updates!)
Running update.bat is important, otherwise you may be using a previous version with potential bugs unfixed.
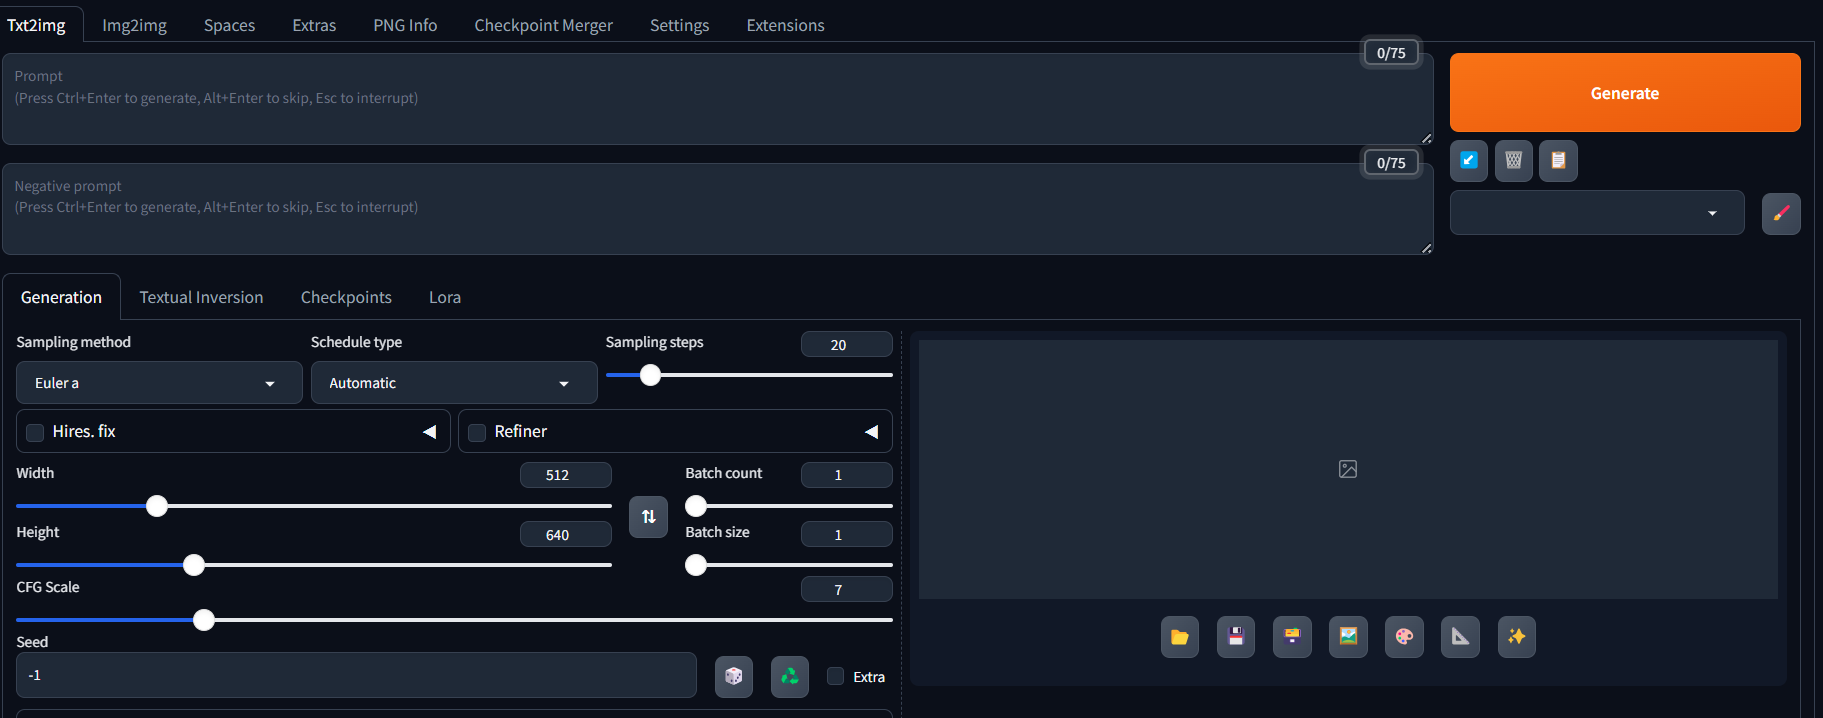
This will open an browser tab for WebUI forge you will see a very similar interface to what you had in Automatic1111 (see previous post) running on local:
Download the Flux Models:
Flux models are very large, clocking in between 12 - 24GB each. You will also need to download the VAE, Text Encoder, and Text Encoder Library placing each of these into the appropriate folders. Like other base platforms - You may want to use a different base model than the actual Flux one for better content but you need all this stuff anyway.
Flux Base Model
There are currently two main variants for the base model: Flux.1 Dev and Flux.1 Schnell. Check out the license agreement, as there are differences: mainly that Schnell has restrictions on commercial use for the model (not the output).
The other key difference is that Dev is slower but produces higher quality output, and Schnell (not surprisingly given that the German translates into 'fast') is faster but generates lower quality output. Dev, as a higher quality model, takes more resources esp GPU VRAM.
Like I said, since you're likely to use someone's variant on the base model, you may not use either directly.
Full download list for Flux Dev
Note that the huggingface download site requires you to set up an account and agree to the terms.
You will need the following from this page: https://huggingface.co/lllyasviel/flux_text_encoders/tree/main
- Base model
- I recommend Dev with the below model if you have an NVIDIA RTX 3000/4000 series GPU card. (download the flux1-dev-bnb-nf4-v2.safetensors file)
https://huggingface.co/lllyasviel/flux1-dev-bnb-nf4/tree/main - Or if you have older card such as the NVIDIA GTX 1000/2000 series cards, then use this model for Dev:
https://huggingface.co/lllyasviel/flux1_dev/tree/main
- I recommend Dev with the below model if you have an NVIDIA RTX 3000/4000 series GPU card. (download the flux1-dev-bnb-nf4-v2.safetensors file)
- From https://huggingface.co/lllyasviel/flux_text_encoders/tree/main
- clip_l.safetensors
- t5xxl_fp16.safetensors (if you have a 24GB GPU)
or
t5xxl_fp8_e4m3fn.safetensors (if you have 12Gb VRAM) <-- I used this one
- ae.safetensors
FROM https://huggingface.co/black-forest-labs/FLUX.1-dev/tree/main (scroll down)
Once you have everything download place the files as follows:
- clip_l.safetensors --> \webui\models\text_encoder\
- t5xxl_<your version>.safetensors --> \webui\models\text_encoder\
- flux1-dev-bnb-nf4-v2.safetensors OR flux1-dev-fp8.safetensors --> \webui\models\Stable-diffusion
- ae.safetensors --> \webui\models\VAE
Using Flux - TXT2IMG
Use the 'run.bat' file (see above) to launch the ForgeUI web interface (running locally).
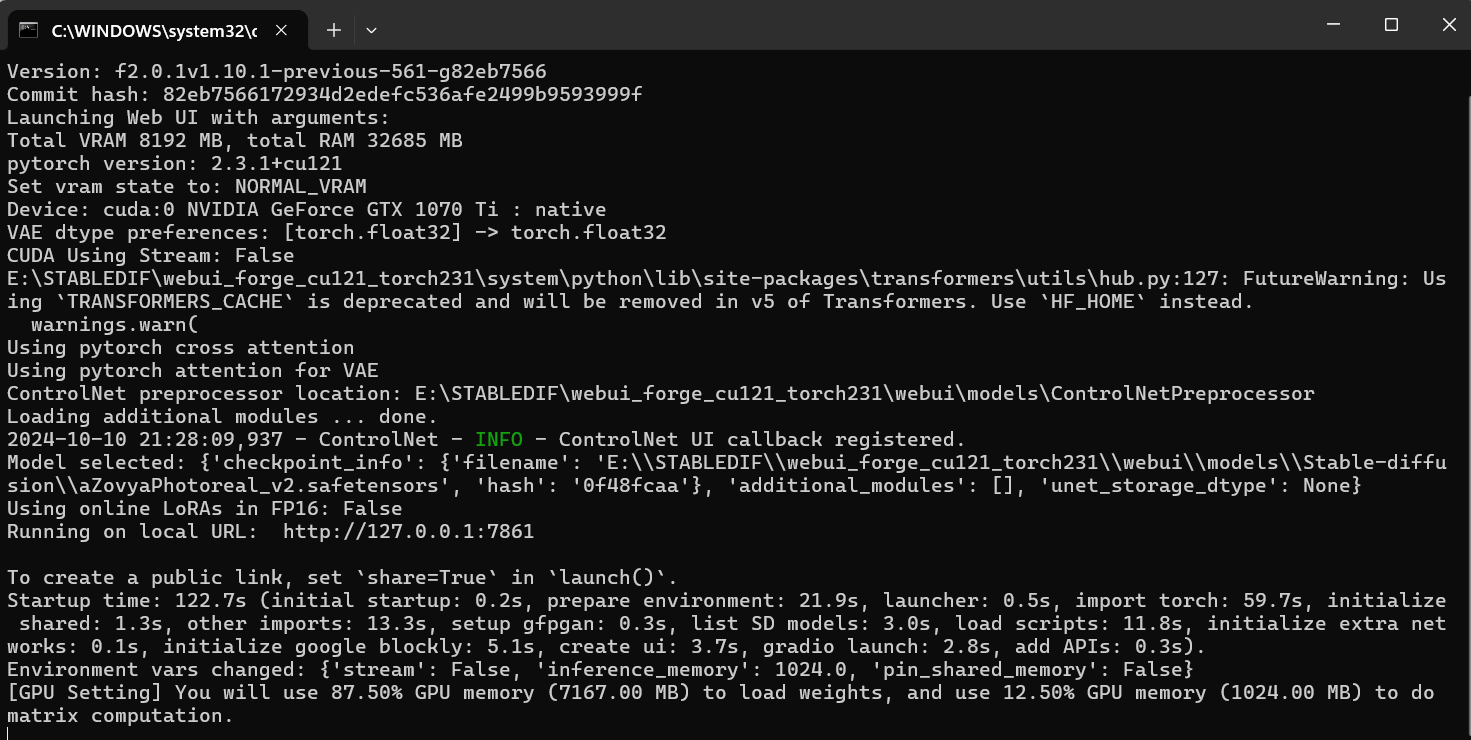
If you get a runtime error read the message; you possibly need to check your graphics driver and/or CUDA version.
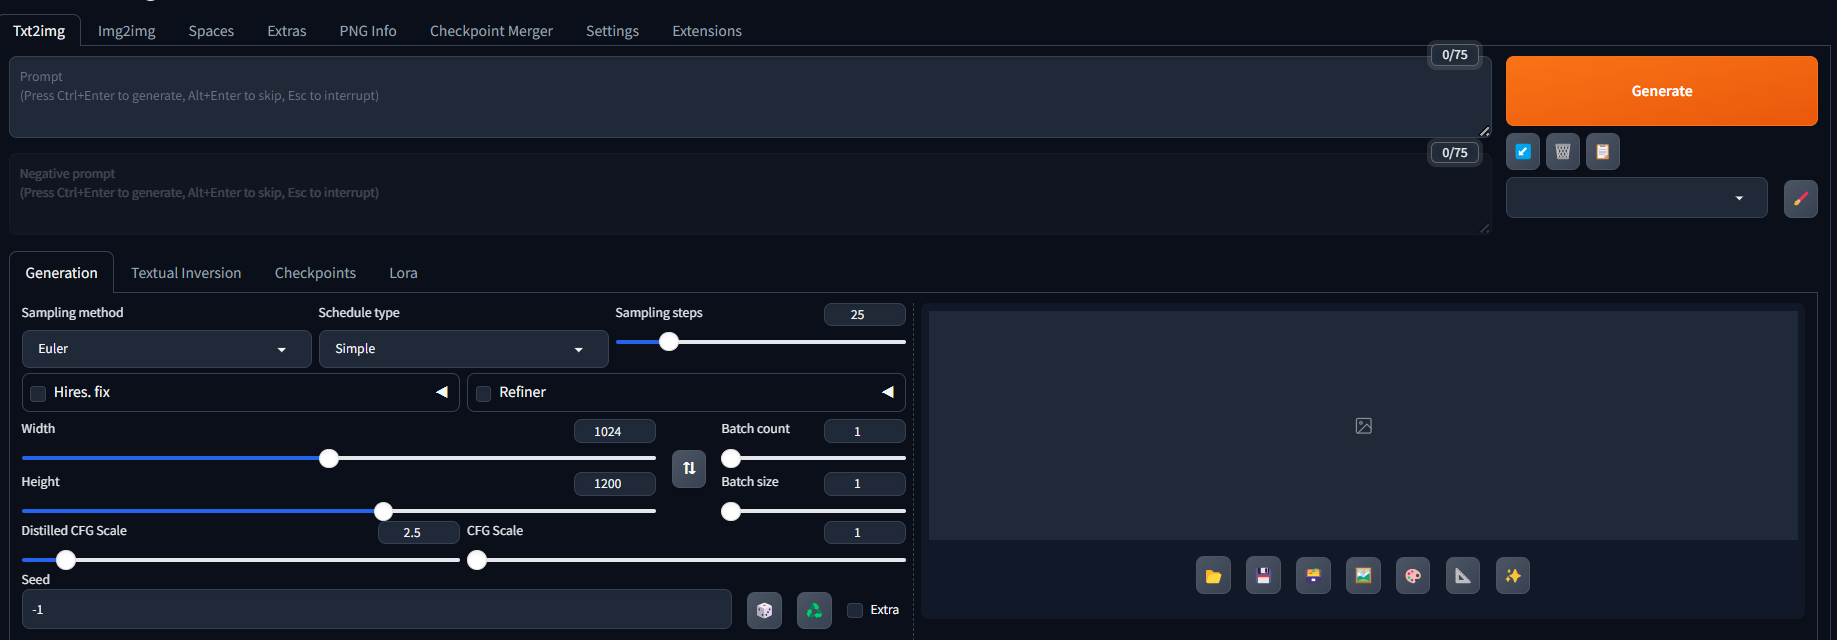
On the top left of the ForgeUI interface choose the "Flux" UI radio.

Flux is a "distilled model" I'm still trying to understand this but it means you don't change the CFG Scale, and instead you change the Distilled CFG Scale. Forge shows both sliders. Compare to previous article.
Flux was trained at 1024px resolution but can use much finer tuned resolution multiples of 8 instead of 64 so you have a VERY wide choice of aspect ratio. To start probably stick to 1024px square and expand from there as you experiment. I'm using 960x1152 or 1024x1200 a lot though
Flux does not use negative prompts by default (they will be greyed out). You can turn them on by increasing the CFG Scale > 1 but it will become PAINFULLY slow (4x slower) and has little beneficial effect.

As of this writing ONLY the Euler or Flux Realistic samplers with a simple scheduler works for Flux, depending on what you're looking for.
Settings are always the tricky bit, and I recommend to experiment a lot. There are no rules! But if you need a starting point, here's what I recommend:
- 1024x1024px image size (go as high as 1200x1400 with an aspect ratio based on the image you're rendering)
- Distilled CFG Scale: 2.5 -> 3 (rarely higher)
- CFG Scale: 1
- Sampler: Euler (because it is most general)
- Scheduler: Simple
- Sampling Steps: 25
At the top of the screen, for checkpoint, choose flux1-dev-fp8-safetensors, and for VAE select all three (see screen shot)

Batch size and Batch count are the same as you're used to (see previous article). All the prompting is the same - however danburo tags are perhaps less effective than natural language. Flux does really well with a prose prompt! Have fun!
Flux is MUCH better at reading your prompt. This is where it shines. So you can ask for things like:
a sign printed with the text "This is Flux" on an old concrete wall with a cat looking up at it.
Up-scaling is not necessary, inpainting works the same.
And there you go!
If you have an impoverished GPU, here are some thoughts
- Try a different model: https://huggingface.co/lllyasviel/flux1-dev-bnb-nf4/blob/main/flux1-dev-bnb-nf4-v2.safetensors
- Use the most restrictive parameters you can - small batch size, small batch size
- Allow use of your CPU
Comments
Thank you!
This is one of the first set-up lessons for Flux that includes all the details. Thank you for the clear steps and for including the screen shots and all the downloads necessary.
Add new comment